Convulsive Beauty.
Activity 1:
"Choose a colour at random. Spend a week photographing objects of only this colour. Select a different colour and repeat the experiment."
|
|
Ben and I thought that we would do this activity together, so in our double lesson with Ms Gibson we thought we would give each other a colour instead of choosing it ourselves, I gave Ben the colour purple and he gave me the colour green. I first started taking photos with my iPod but then I thought I would use the macro-lense on a camera so I could get the focus right and to get the best lighting and quality of photo possible, I am going to continue this activity for the remainder of the week. I was really happy when I received the colour green because not only is it my favourite colour but a lot of man-made objects and natural form are green so I had an easy time photographing green things, Ben however, did have a hard time finding things that were purple.
|
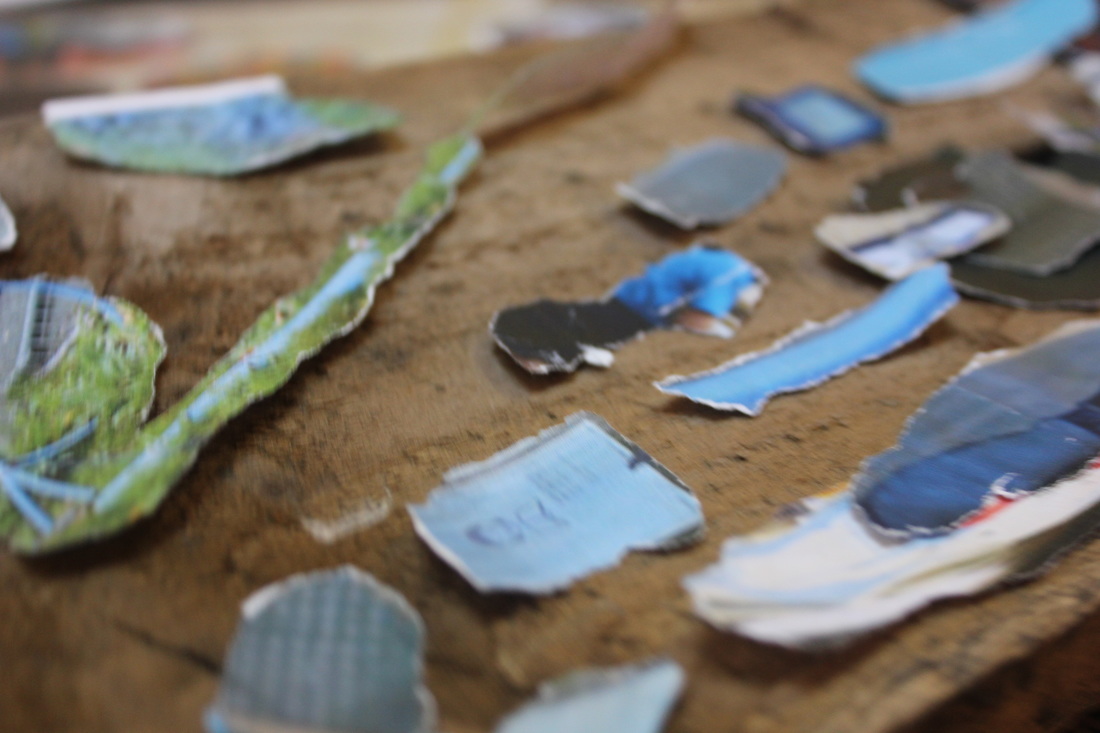
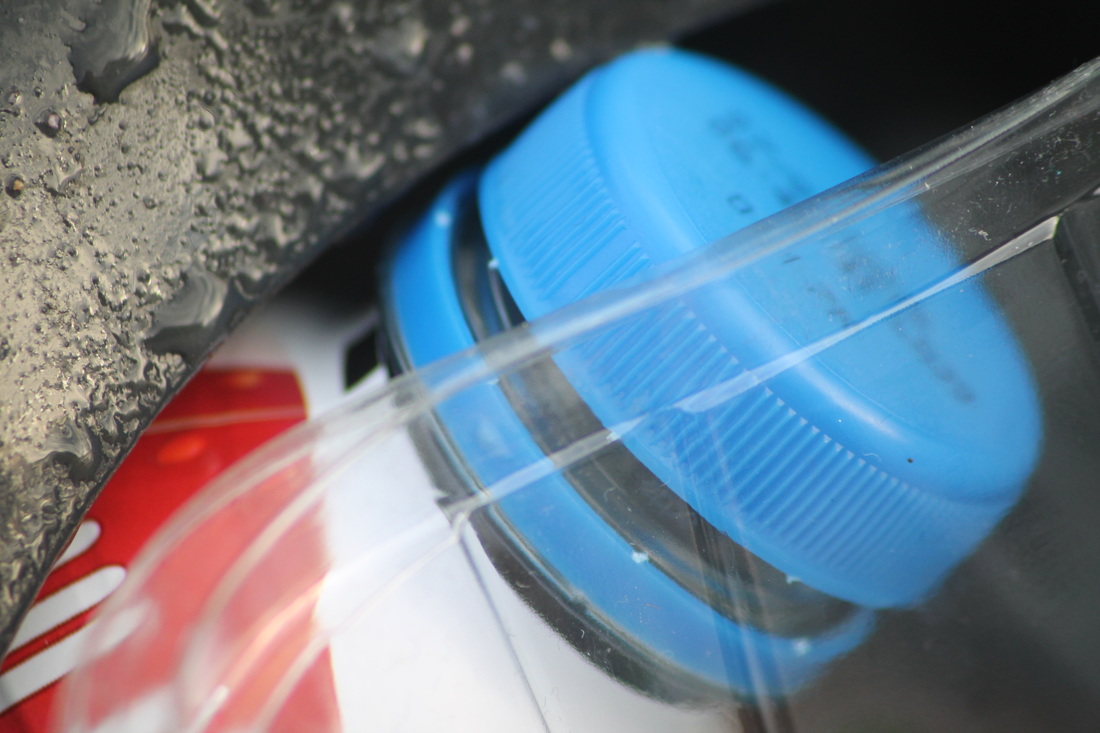
Switching colours - BLUE
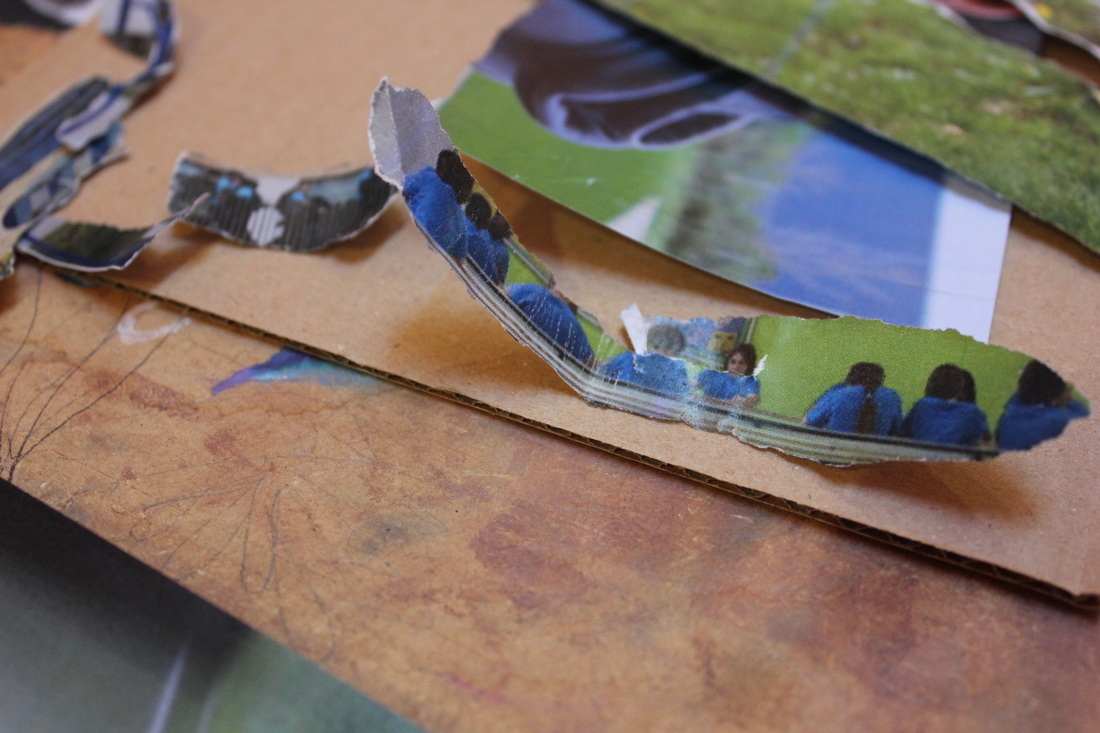
Before switching colours I thought of another idea that I wanted to do relevant to the theme of colour. I thought instead of taking photos close up on objects of a certain colour I would take a series of unplanned images and then look at them after for the new colour. I didn't want to do this idea with the colour green because that colour is everywhere, I.e. grass, bushes, trees etc, so I waited until Ben gave me another colour, which was blue, and blue isn't everyone so it should be interesting. After taking a series of images with something blue in it, i might either tear, cut, replace or draw a circle around the blue object so it is obvious that it is the colour I am photographing.


The next plan.
While the plan for photographing unplanned images that contain any blue colour is ongoing i thought i would start another plan alongside this, I am going to get a jar and I'm going to collect small red objects in that jar and as I'm interested in using the macro lens to photograph small things and making them look bigger i'm going to do that. However, like i said i am still planning on taking unplanned images containing blue things over the weekend and further on in this topic.
Sarah Sze - Second Studio
|
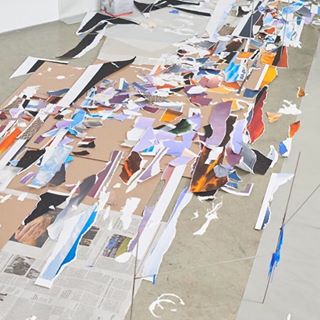
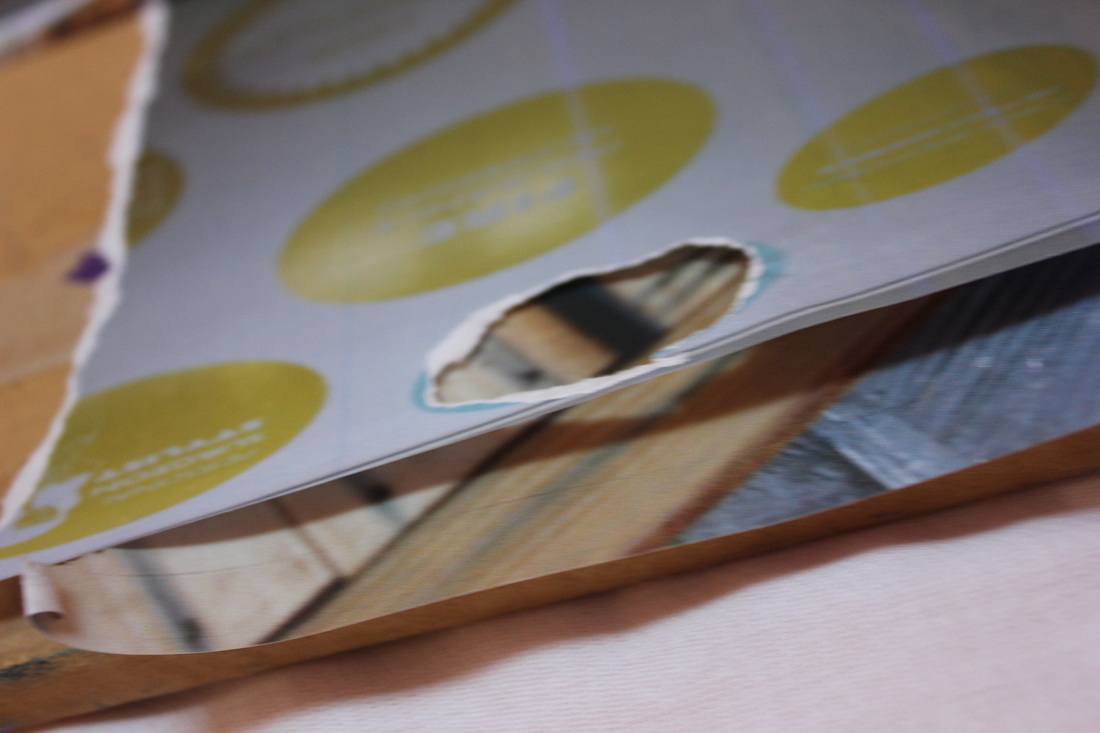
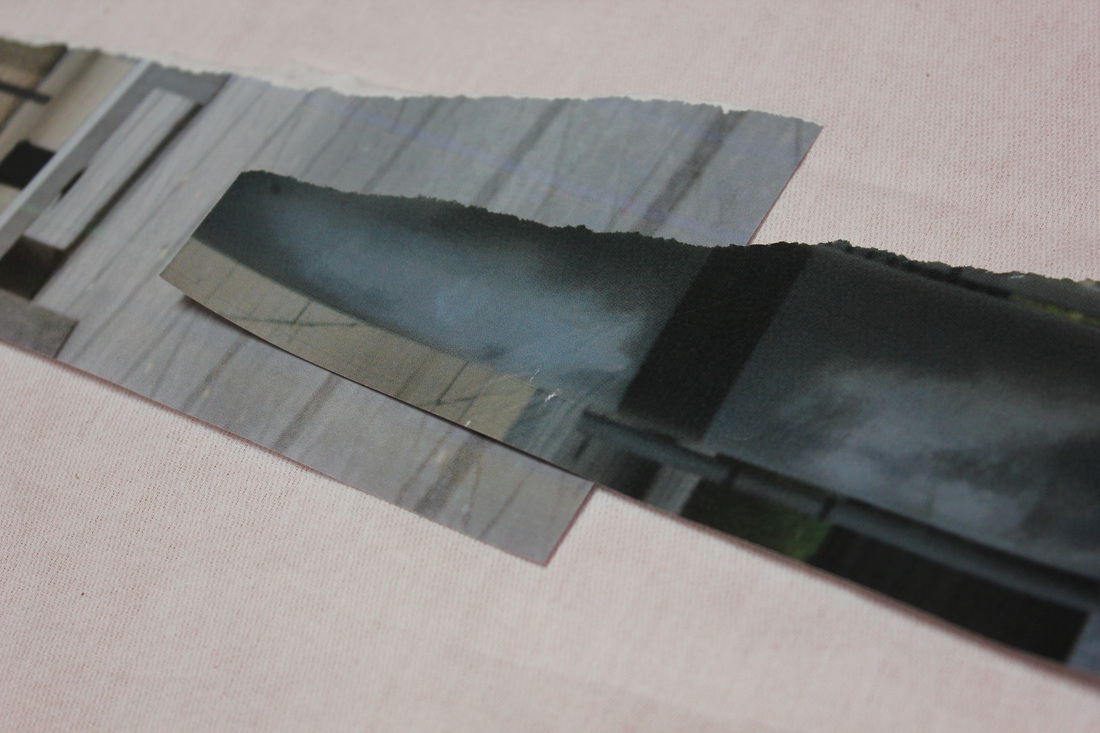
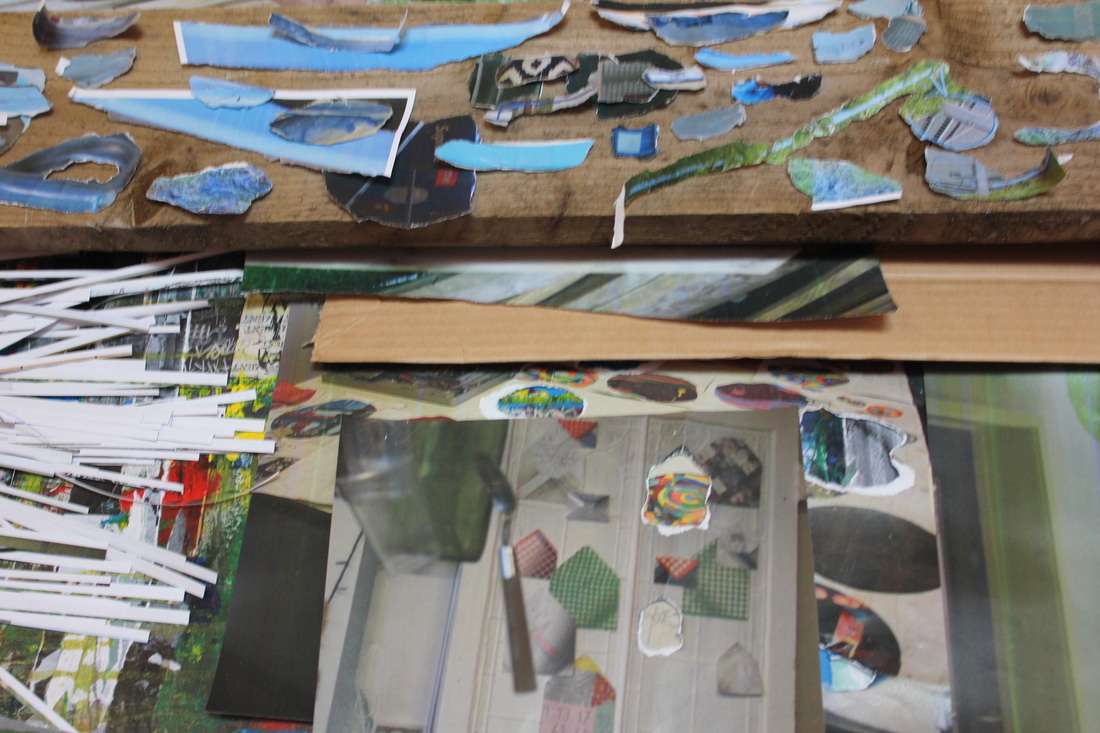
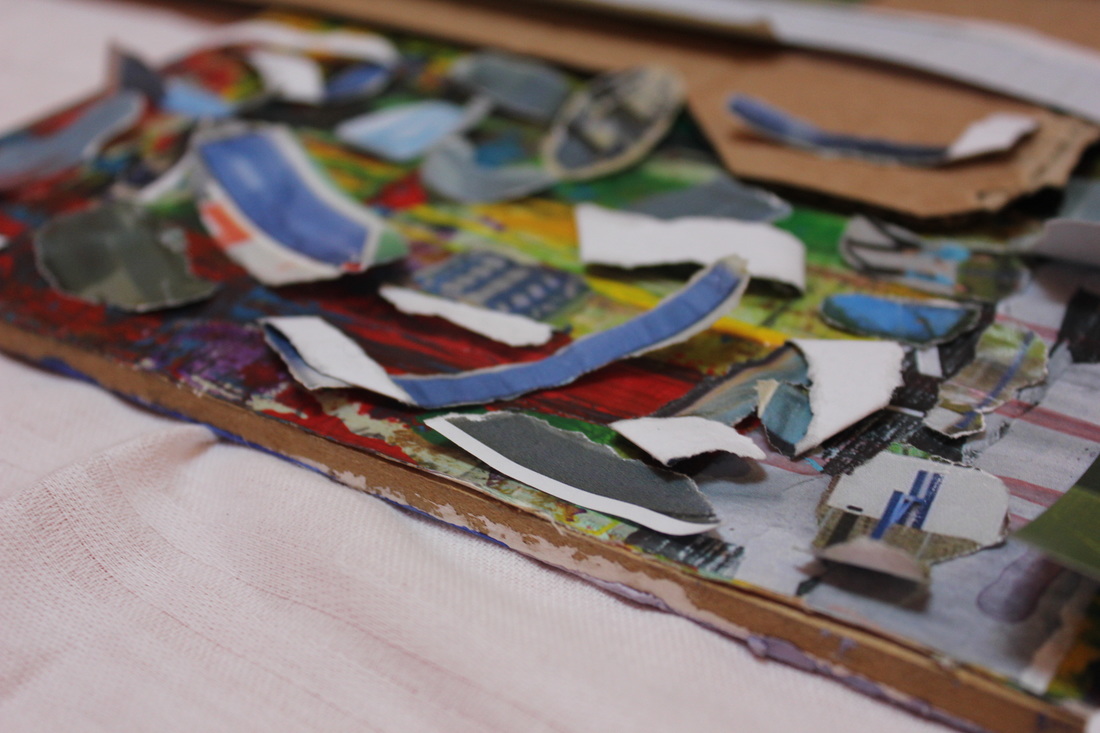
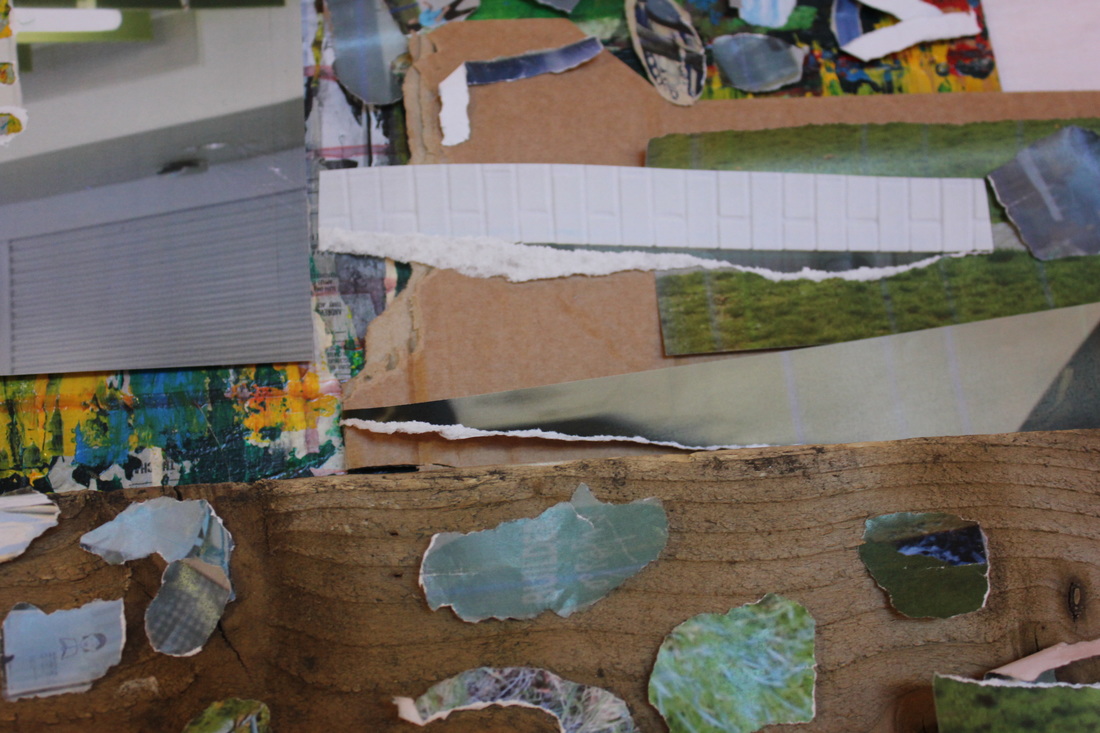
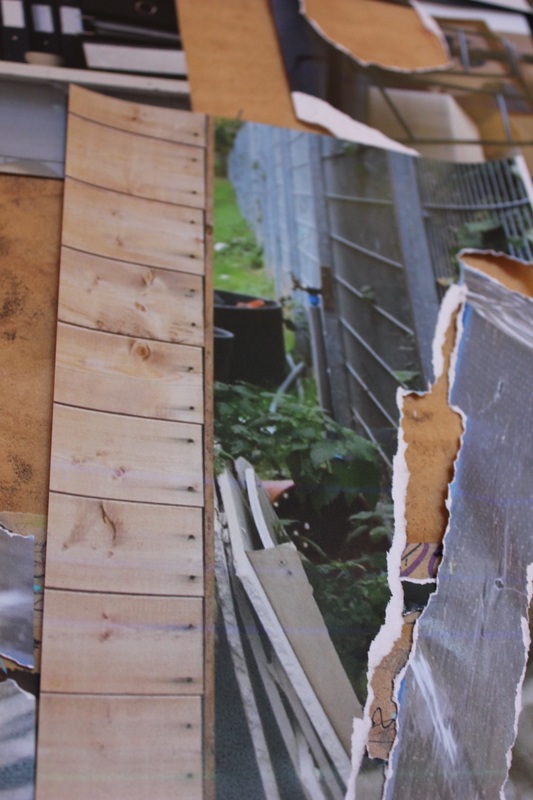
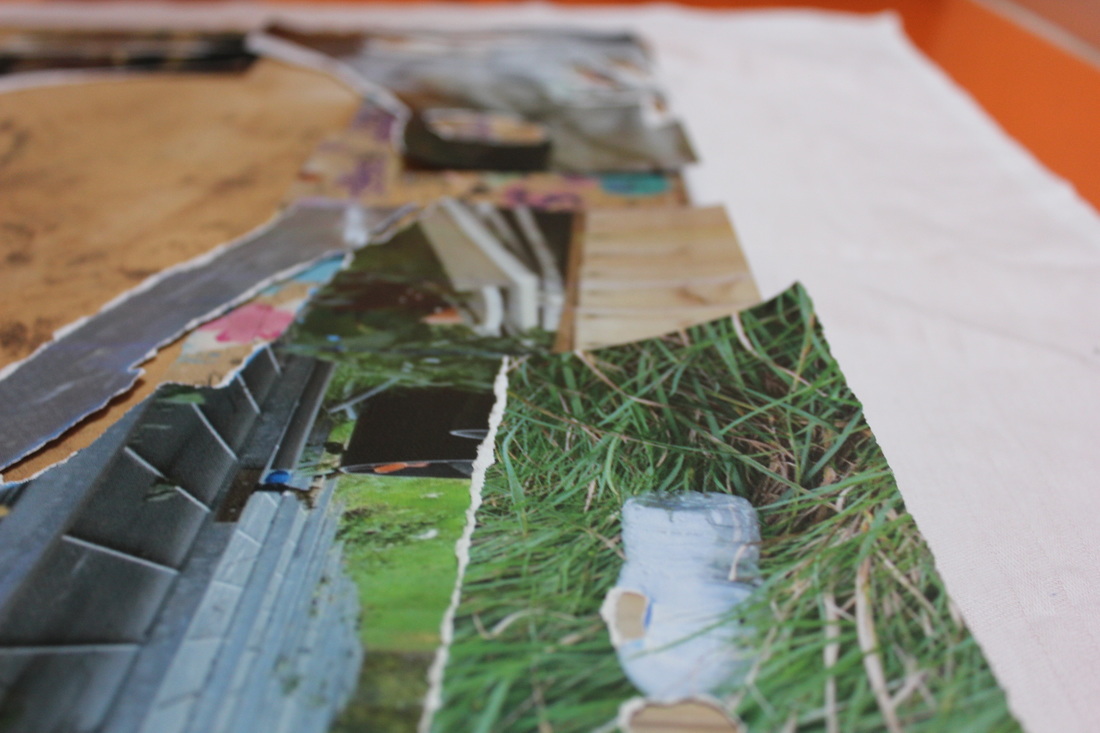
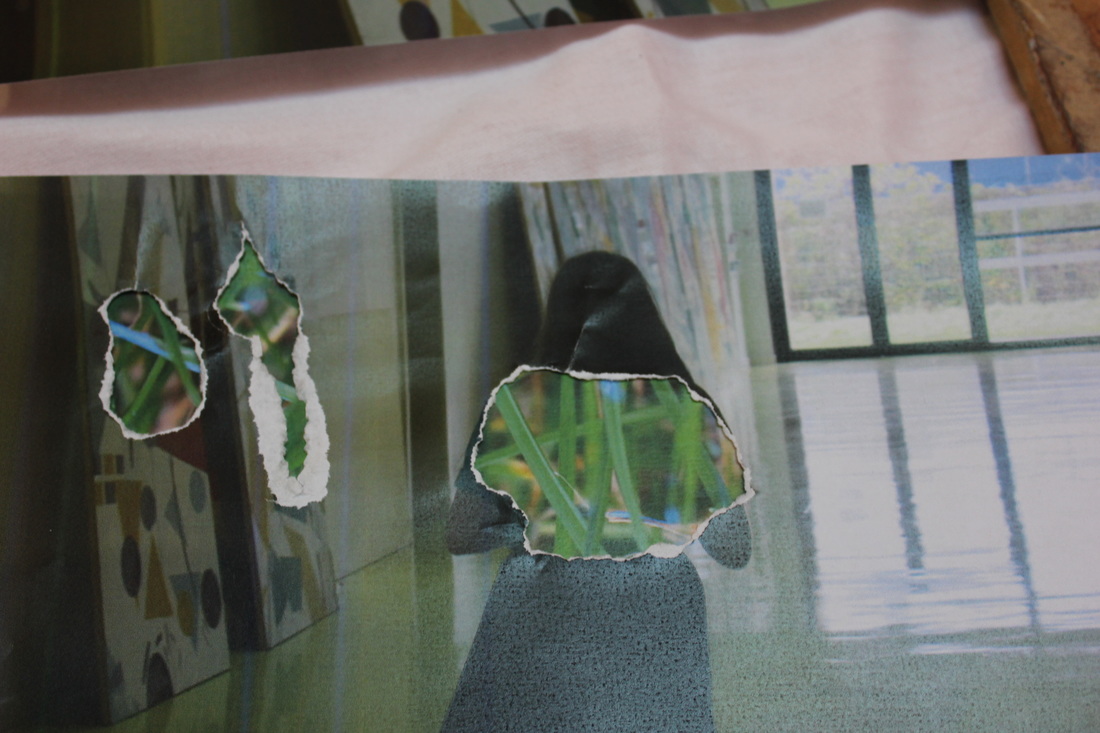
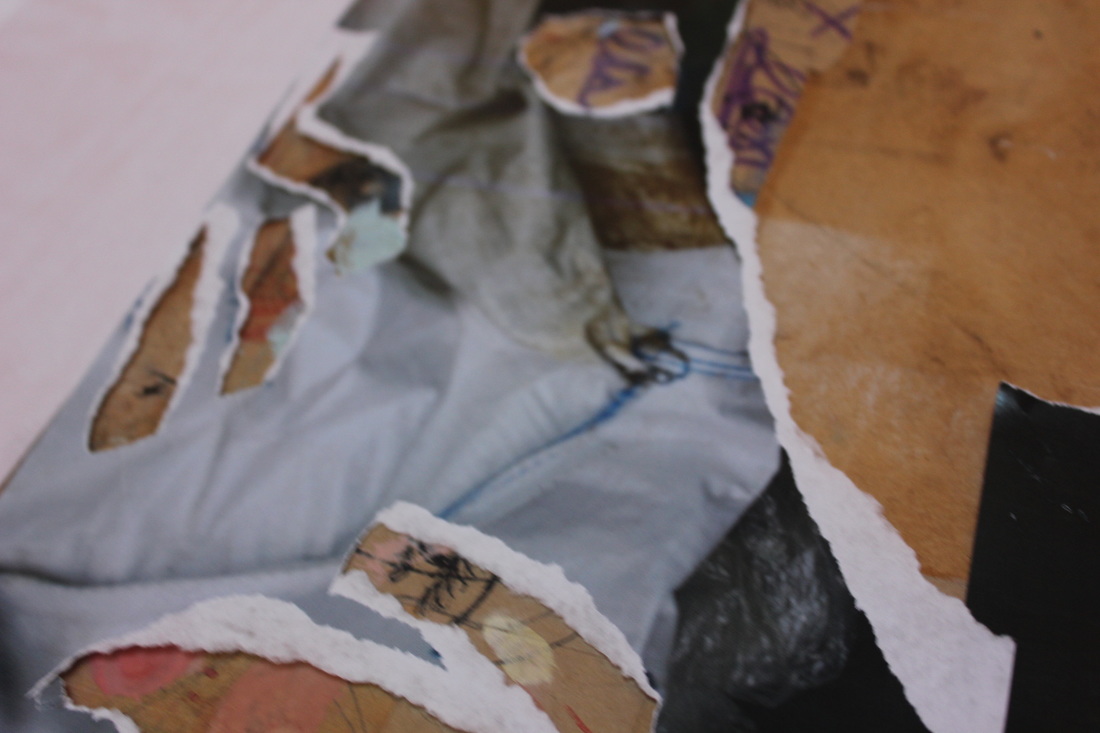
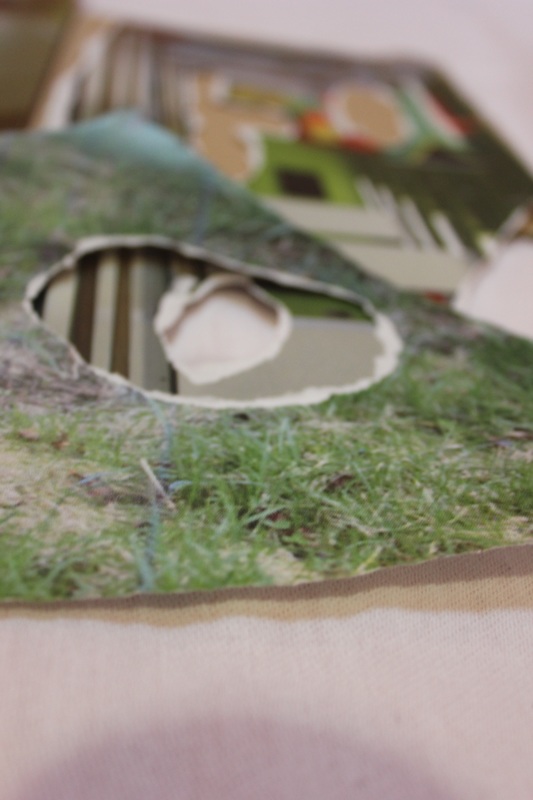
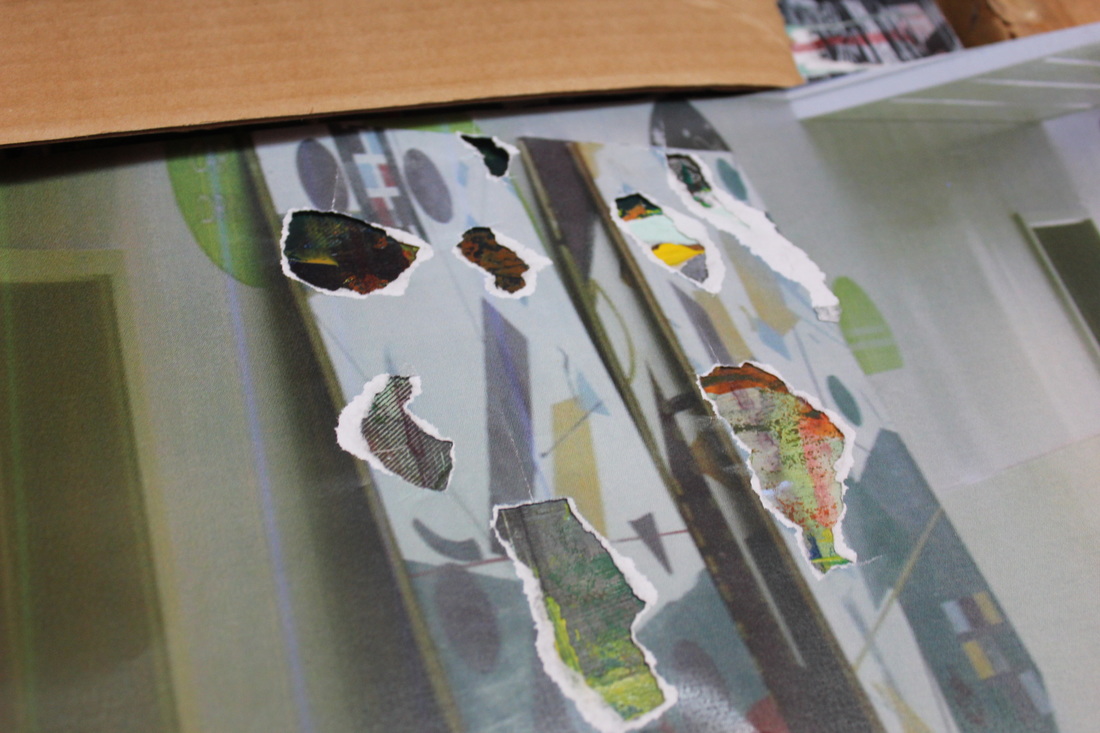
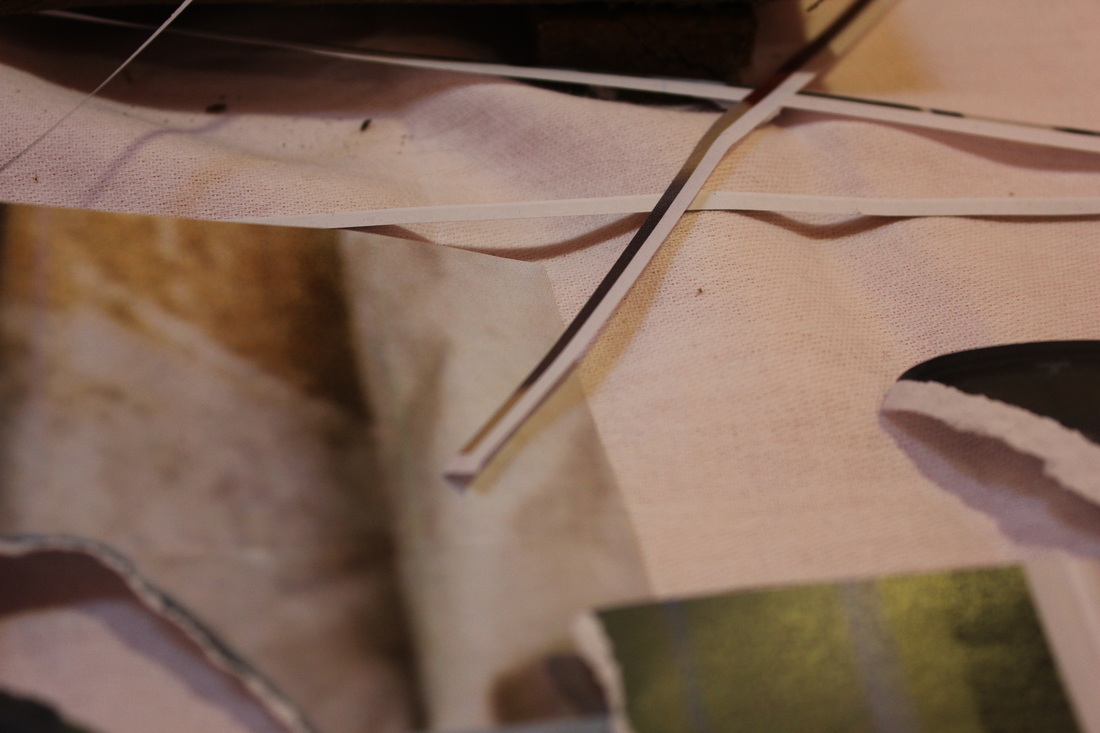
I feel as if Sarah Sze's work corresponds to what I am doing with mine, I am tearing out all of the blue parts of some of my images and I want to do a similar thing to Sze like an instillation like to the right. I can also tear the colour blue out of magazines and use other materials so add layers and textures to this piece of work and I will re-photograph this. It will be like a loose collage.
|
|

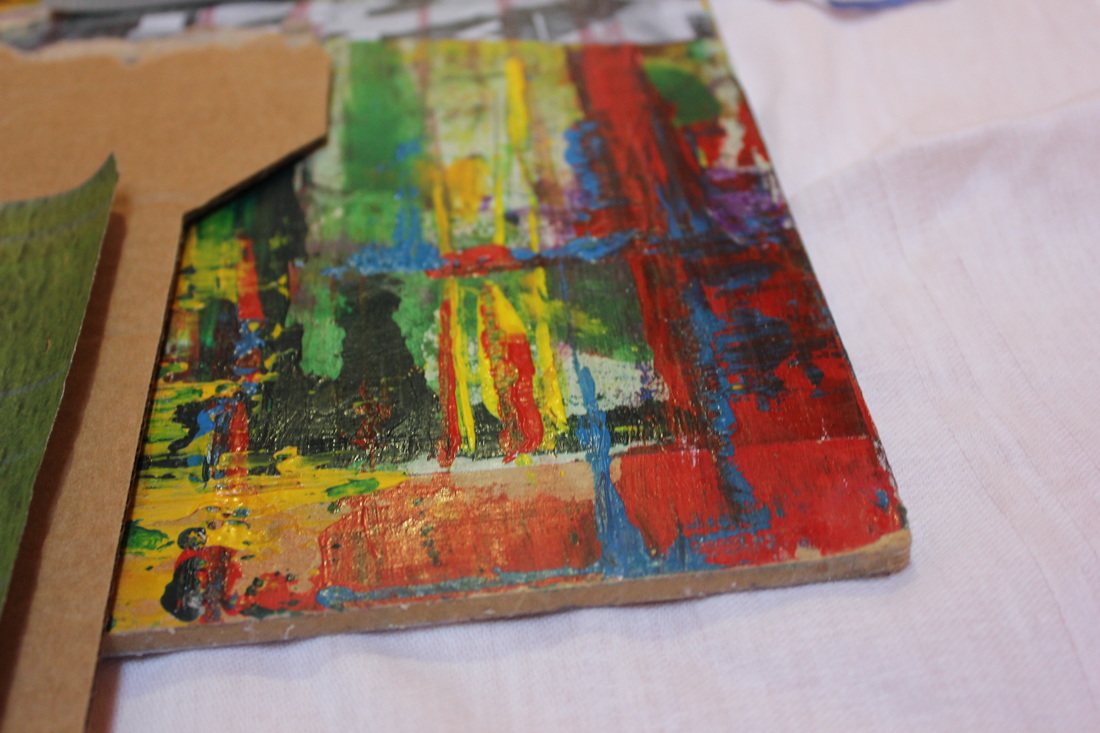
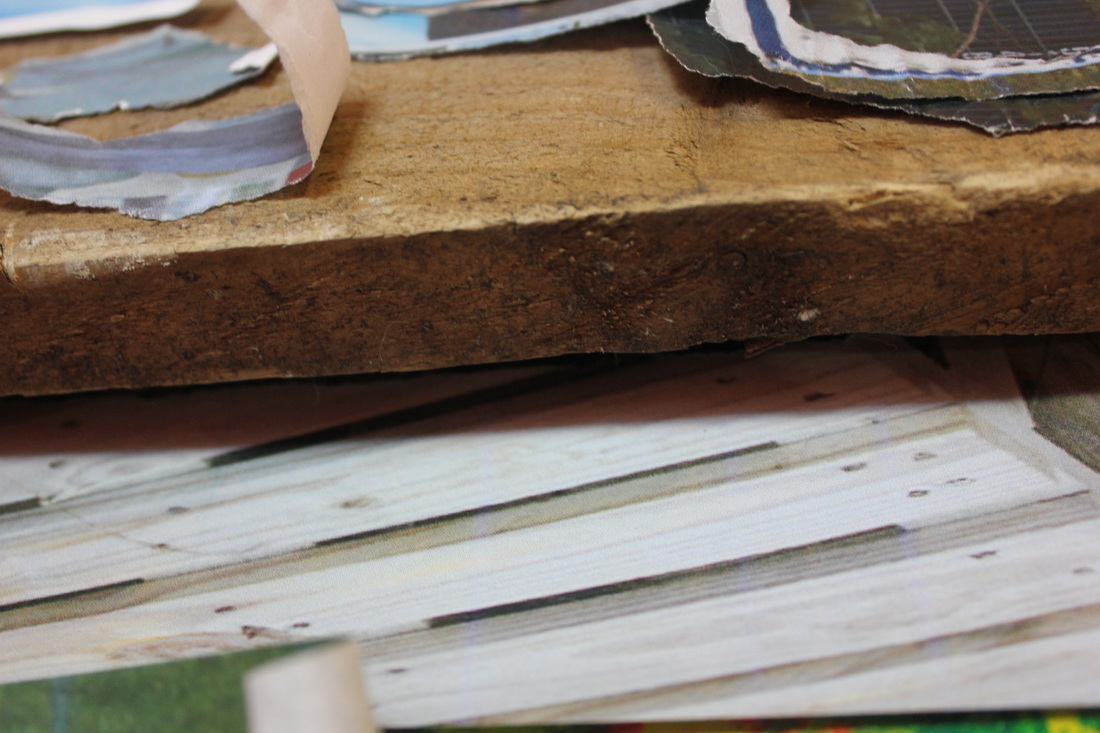
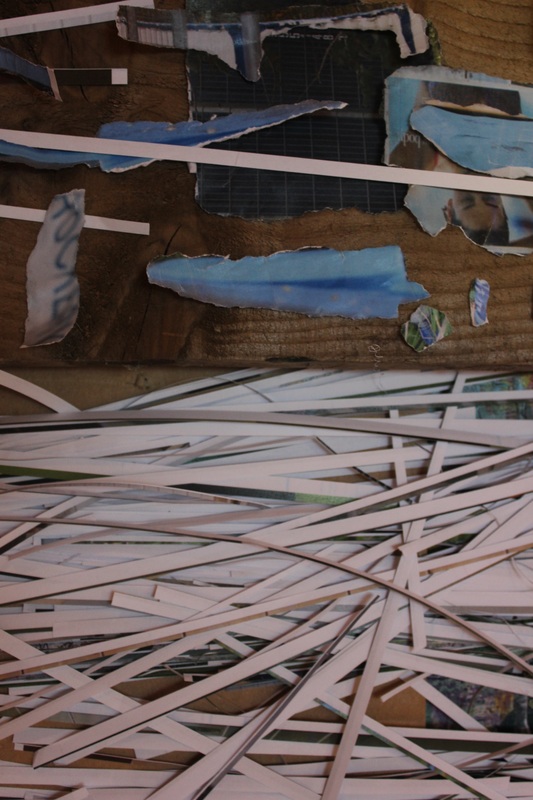
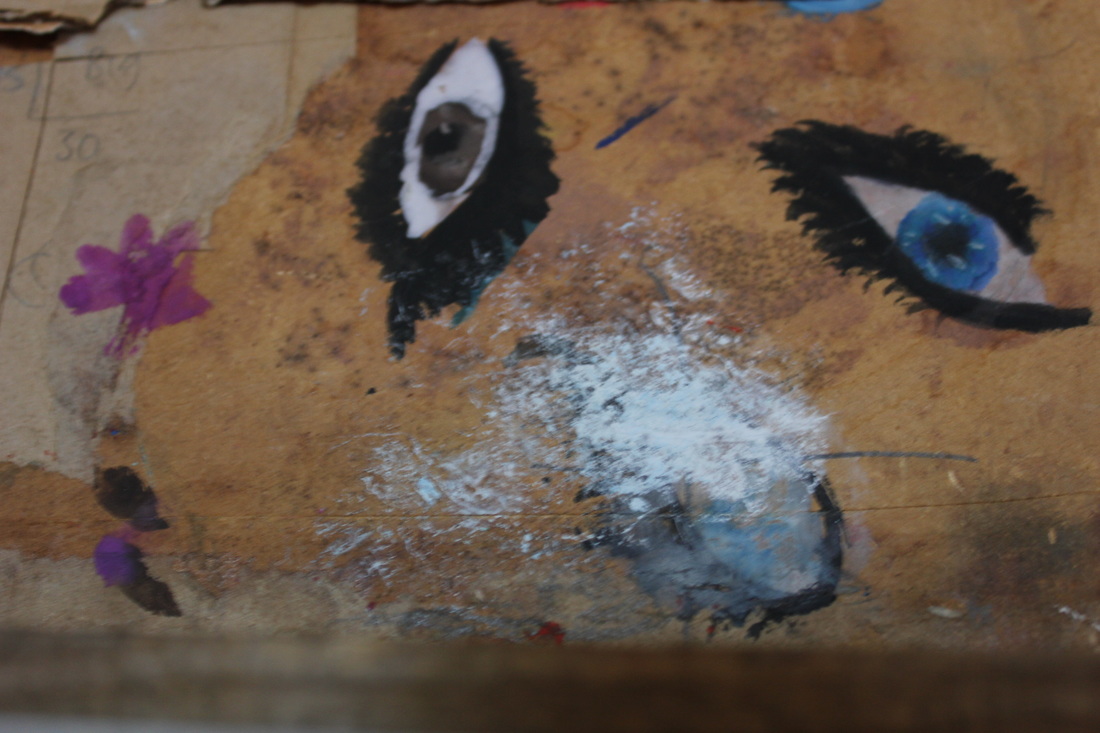
My work
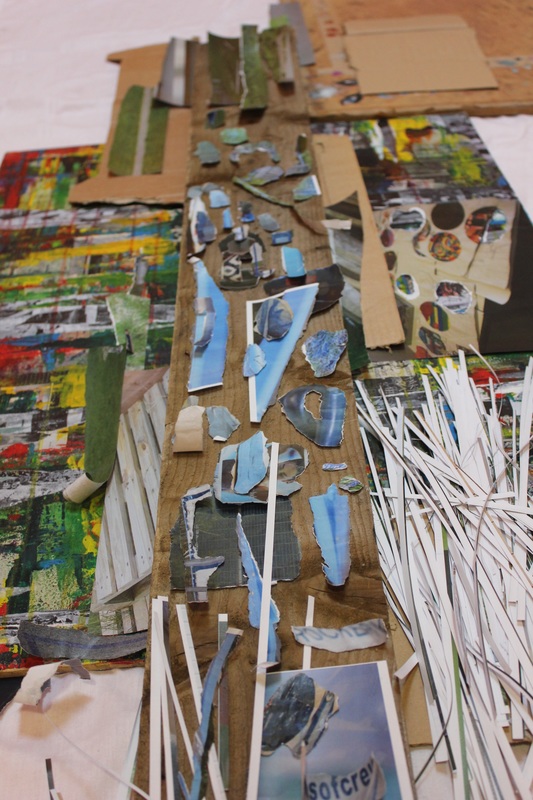


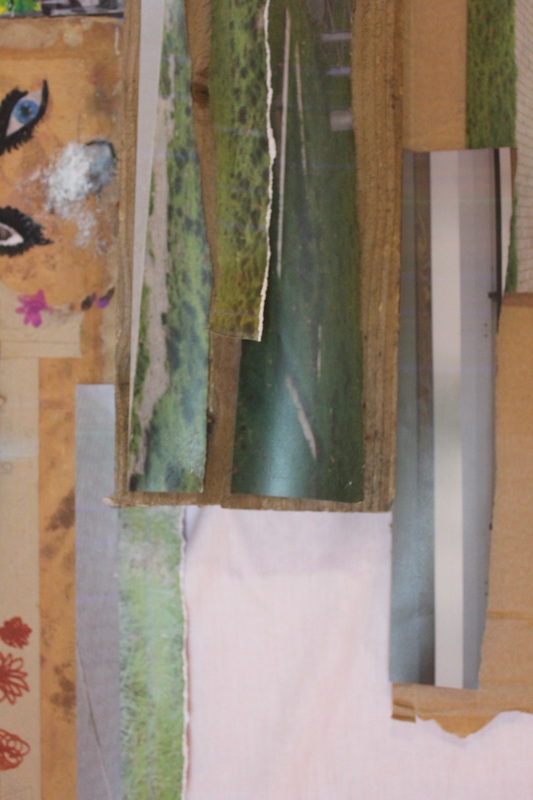
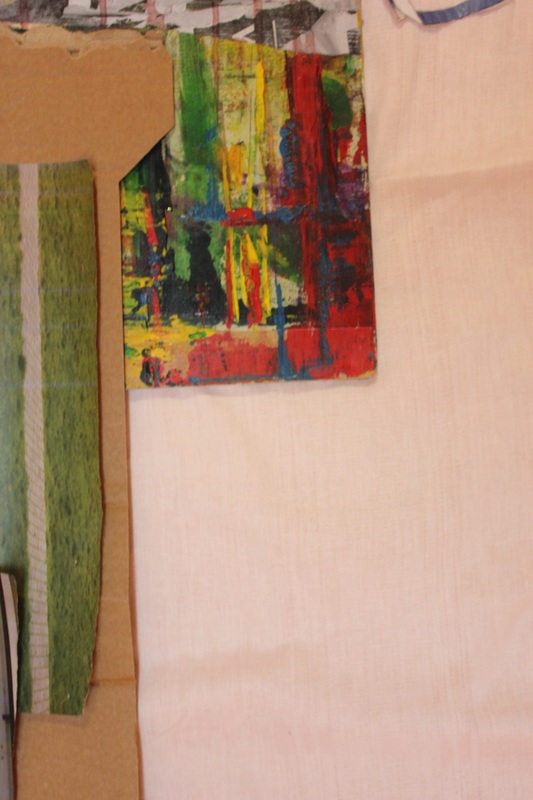

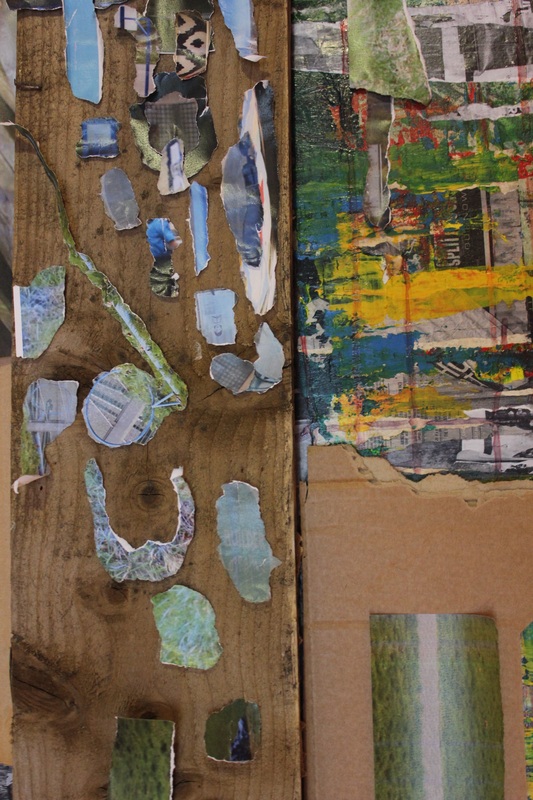


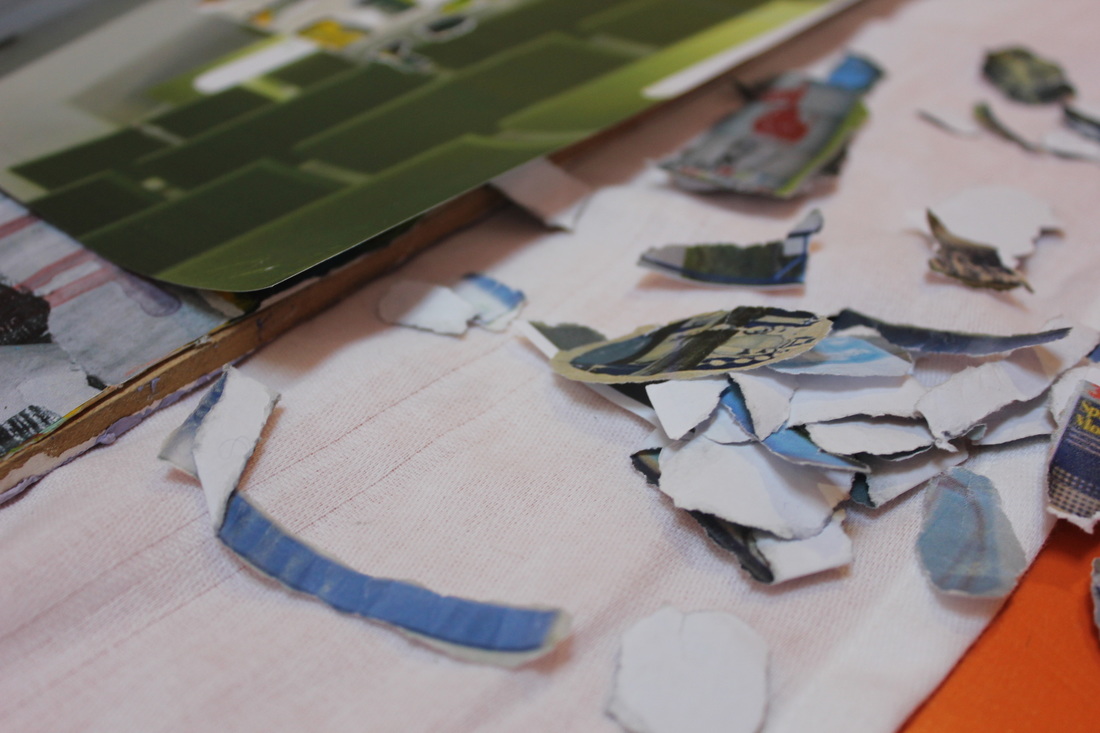


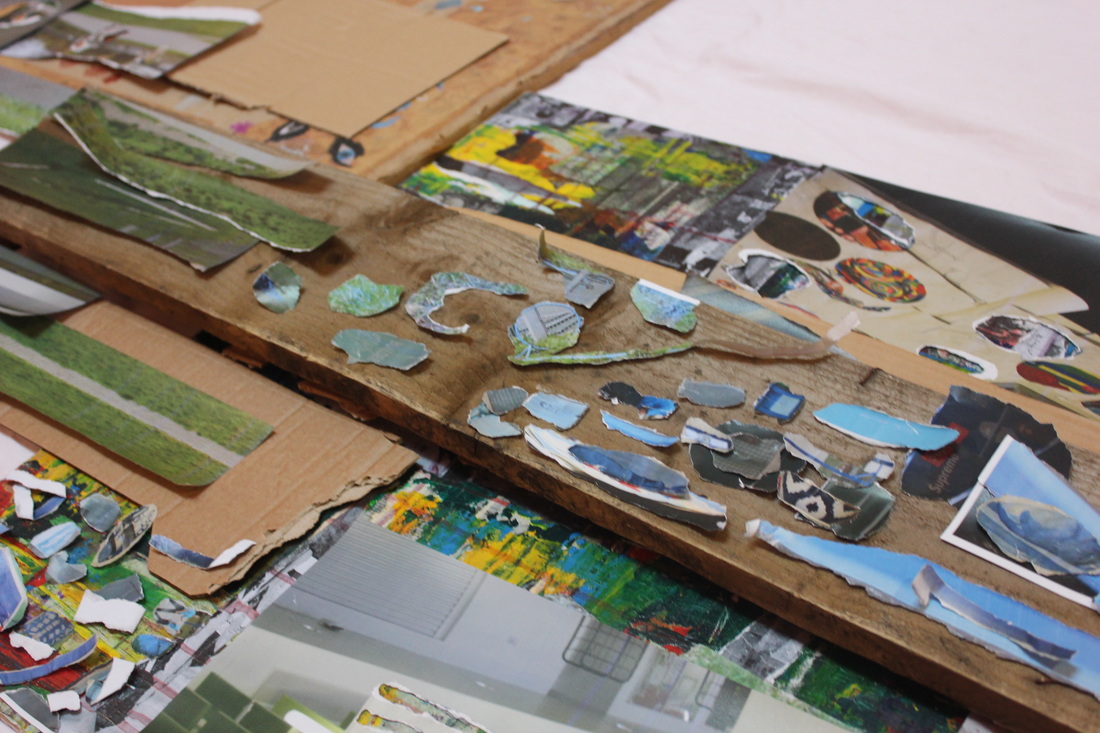


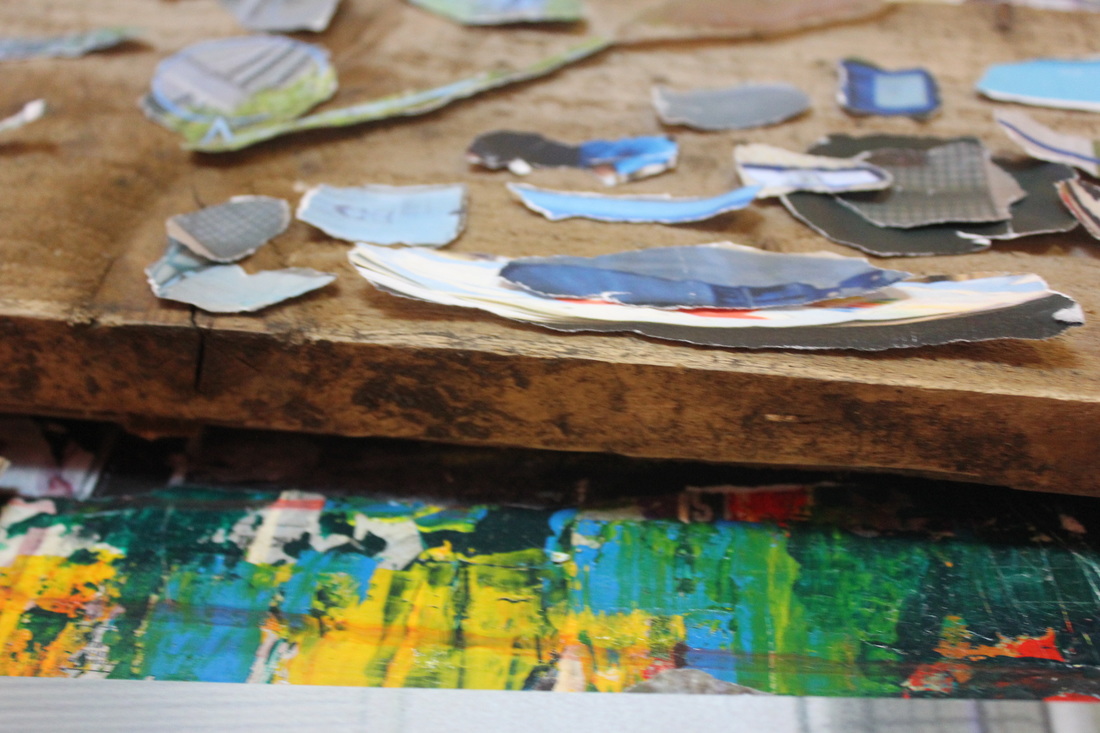


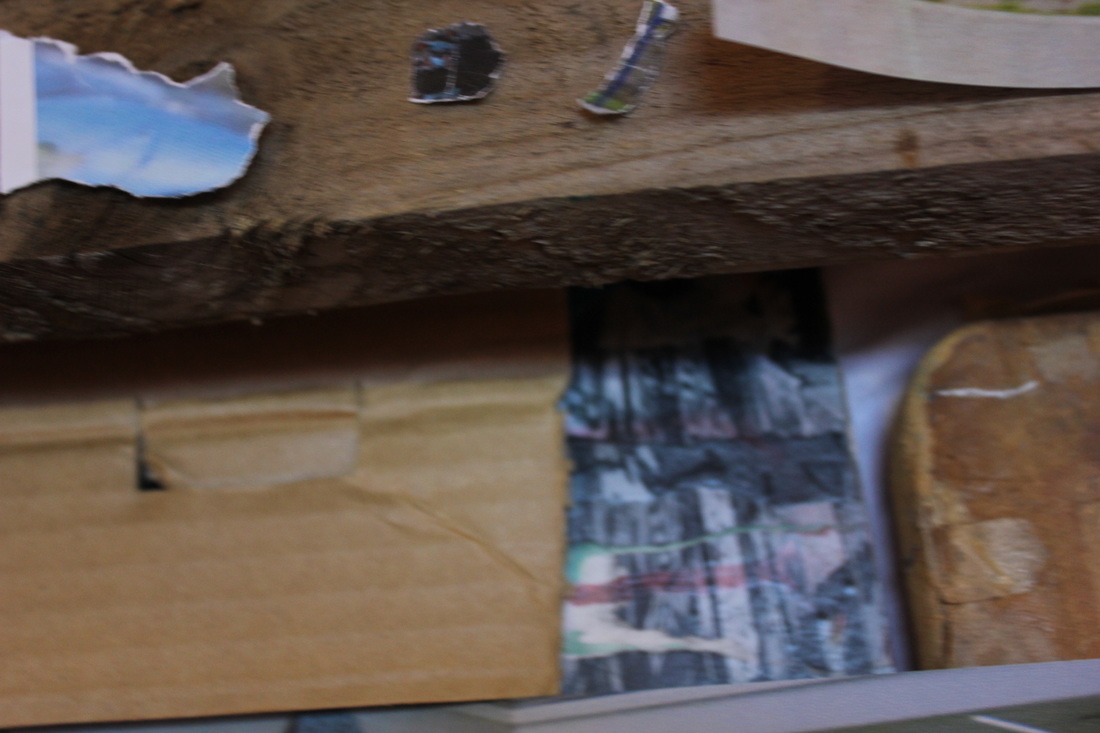


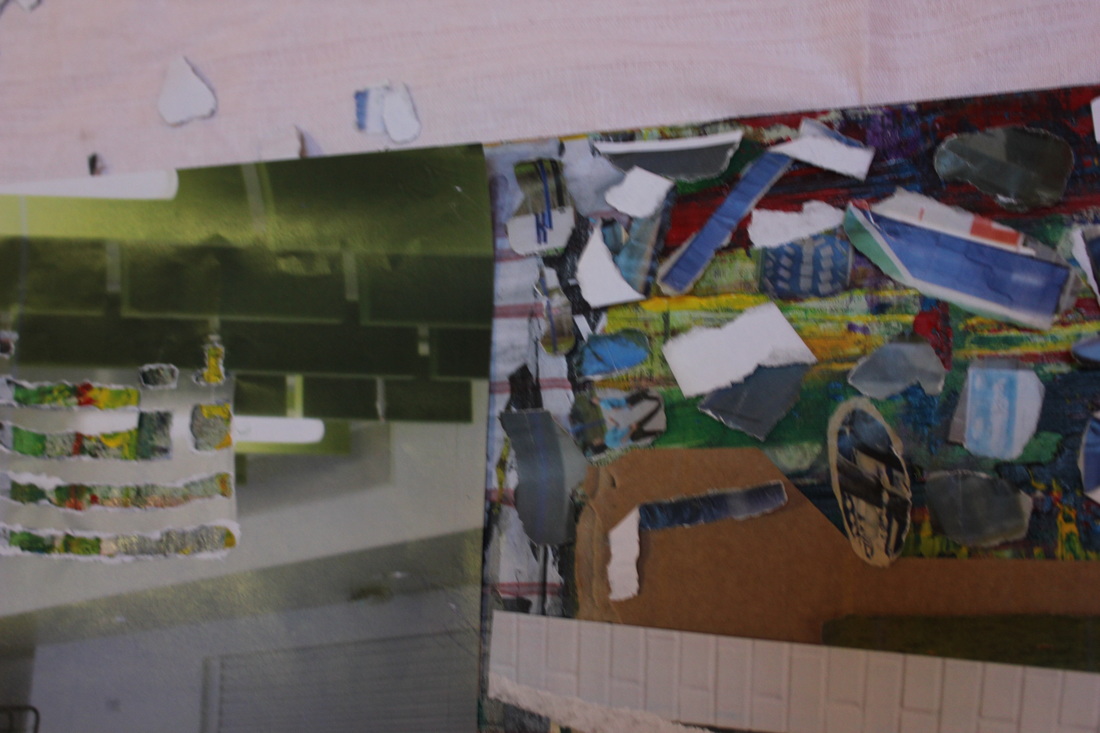
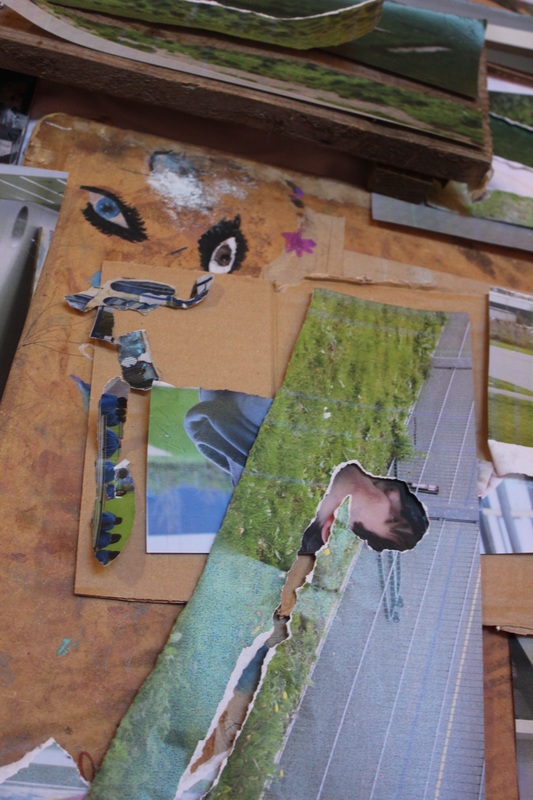

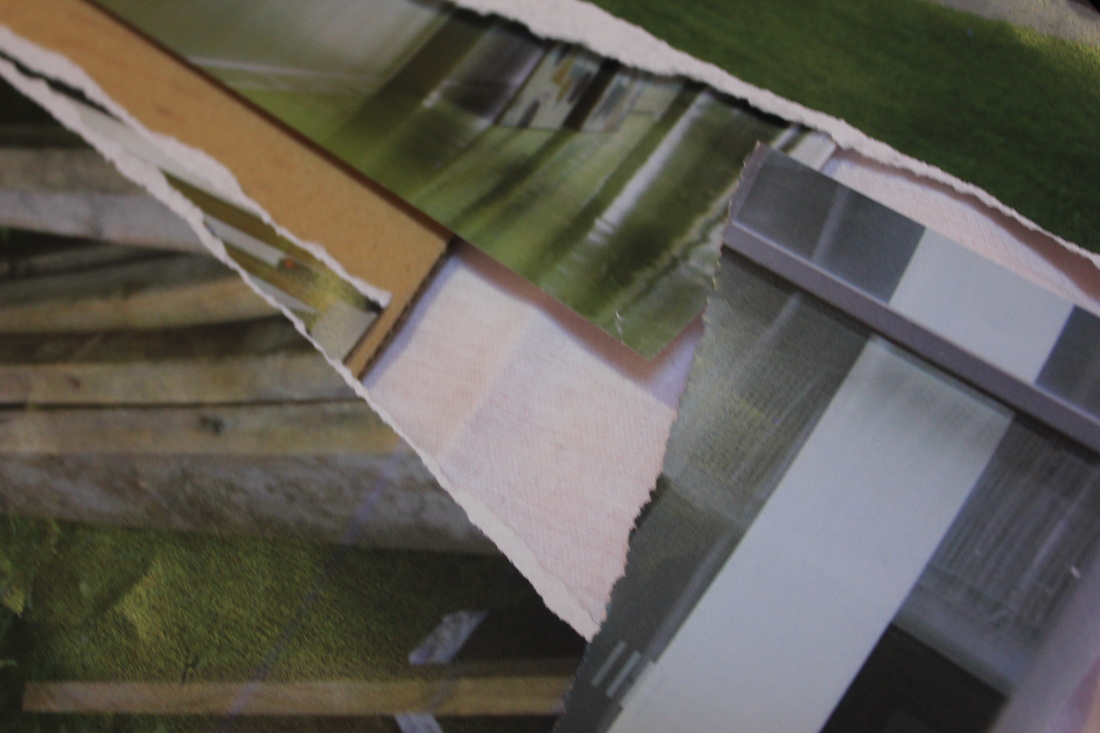


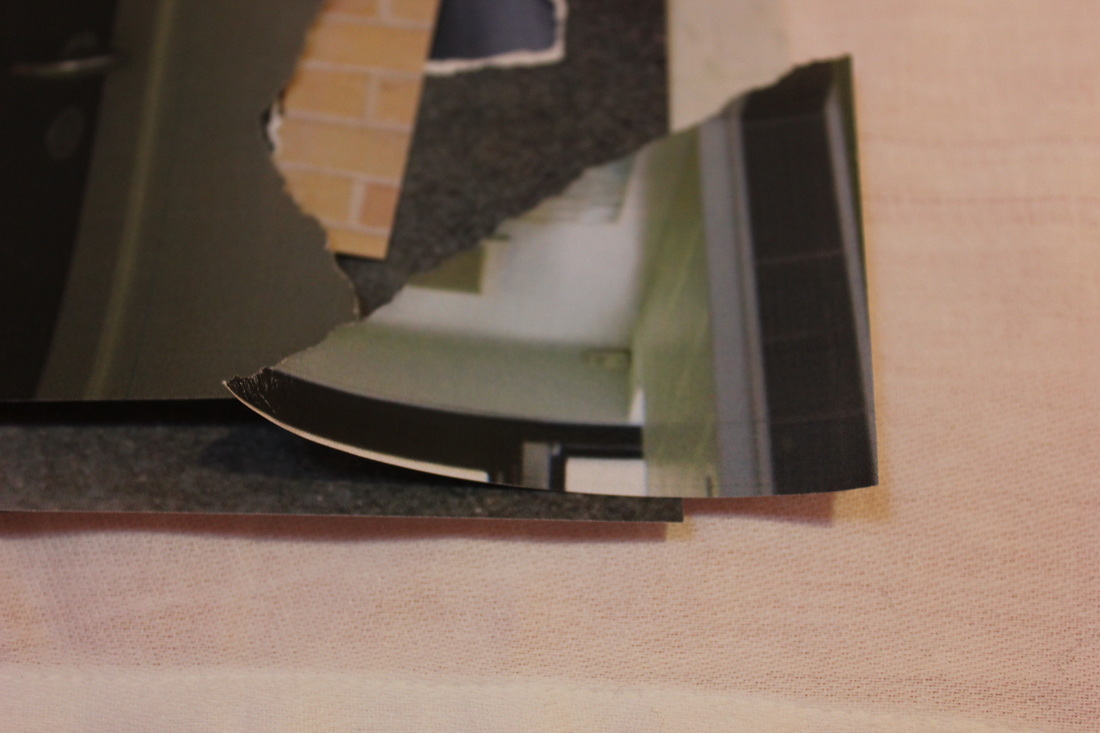


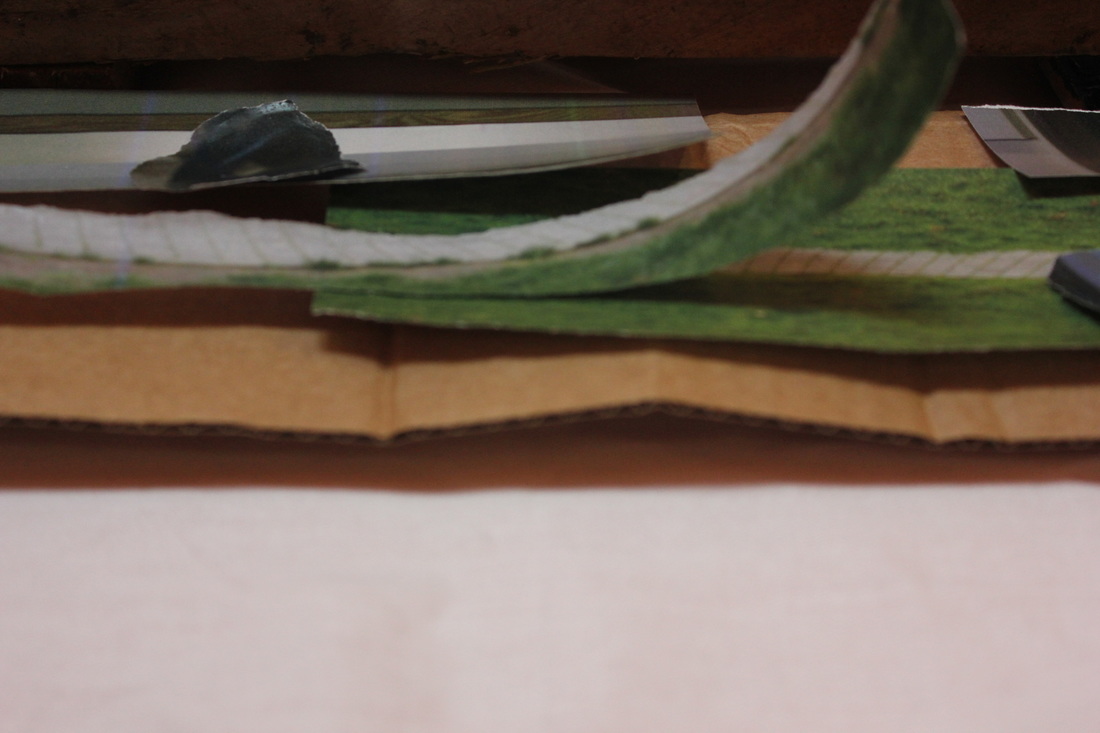


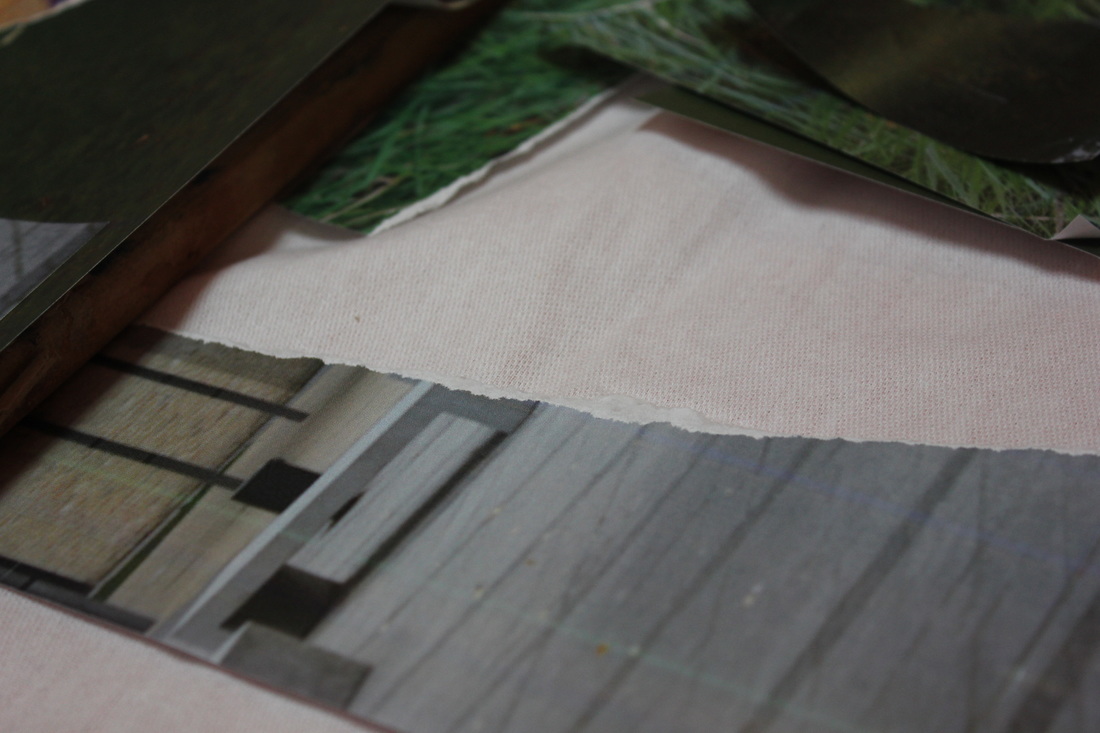


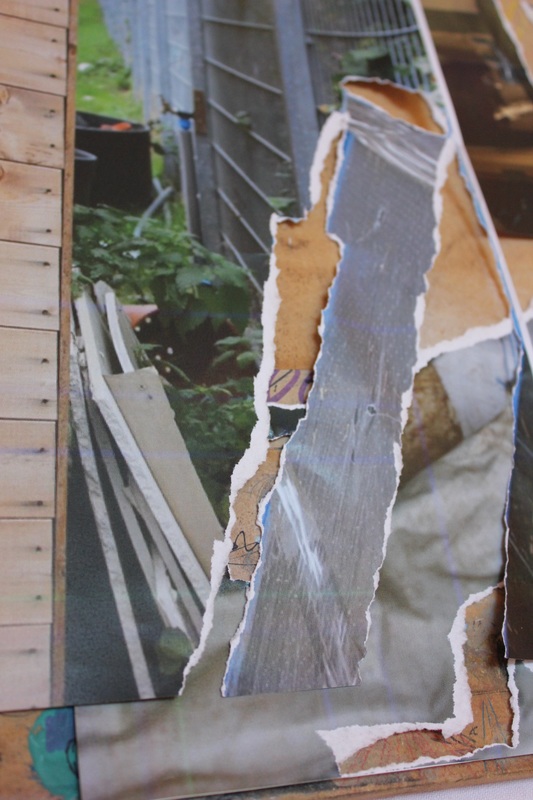
I really liked these images as you could see all of the different textures within the installation from all of the different materials used such as paper, cardboard, wood and cloth. when making the installation I got a lot of praise from individuals walking past saying how interesting it was and how it was a really good idea. I printed all of these images off onto a contact sheet and put a small dot that is either red, amber or green depending on the quality of the image, now I am going to put all of the green images together below and the same with the amber and red.
Green - The best quality


I marked these as green because these were the best quality out of the whole set of images, some were a tiny bit blurry but i like it because you don't know what it is if you look at it so it looks more absurd and surreal than the others but i like all of these images.
Amber - Medium quality


I have marked these as amber because the images are not completely low quality but they are not perfect, this is down to slight blurriness from me moving the camera at the wrong time and the composition in some images were not that great.
Red - Not good quality


I have marked these images as red because they are pretty low quality, this is either due to blurriness, poor distribution of images, bad angles, or poor lighting.
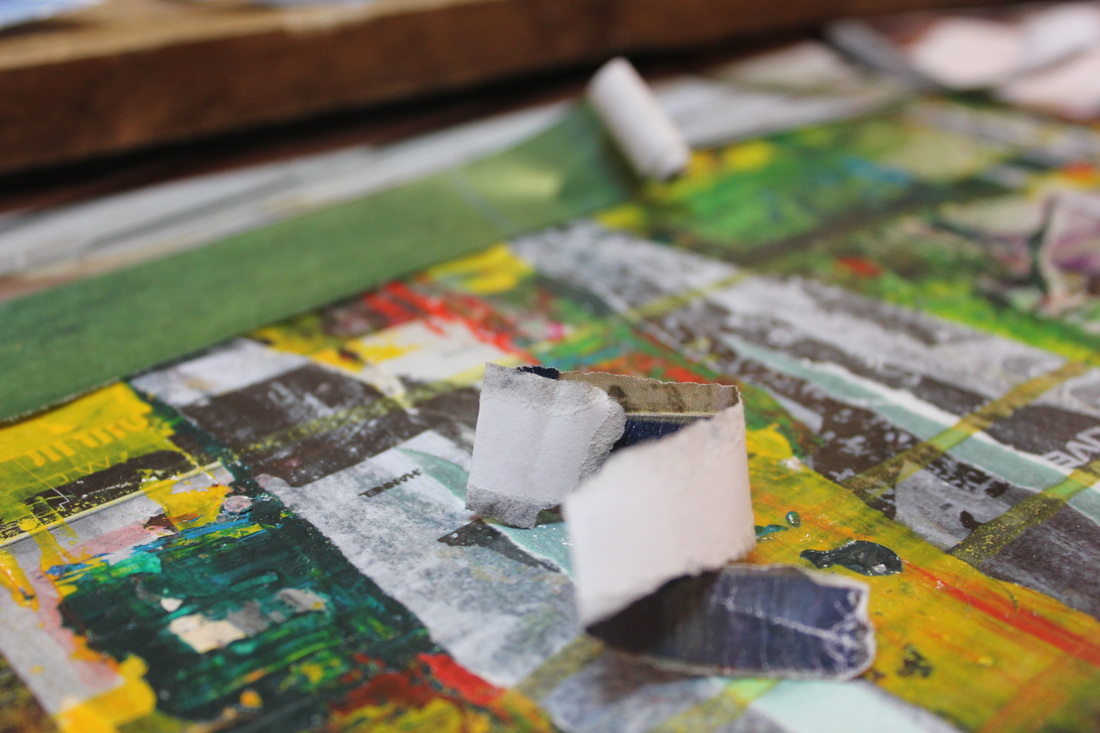
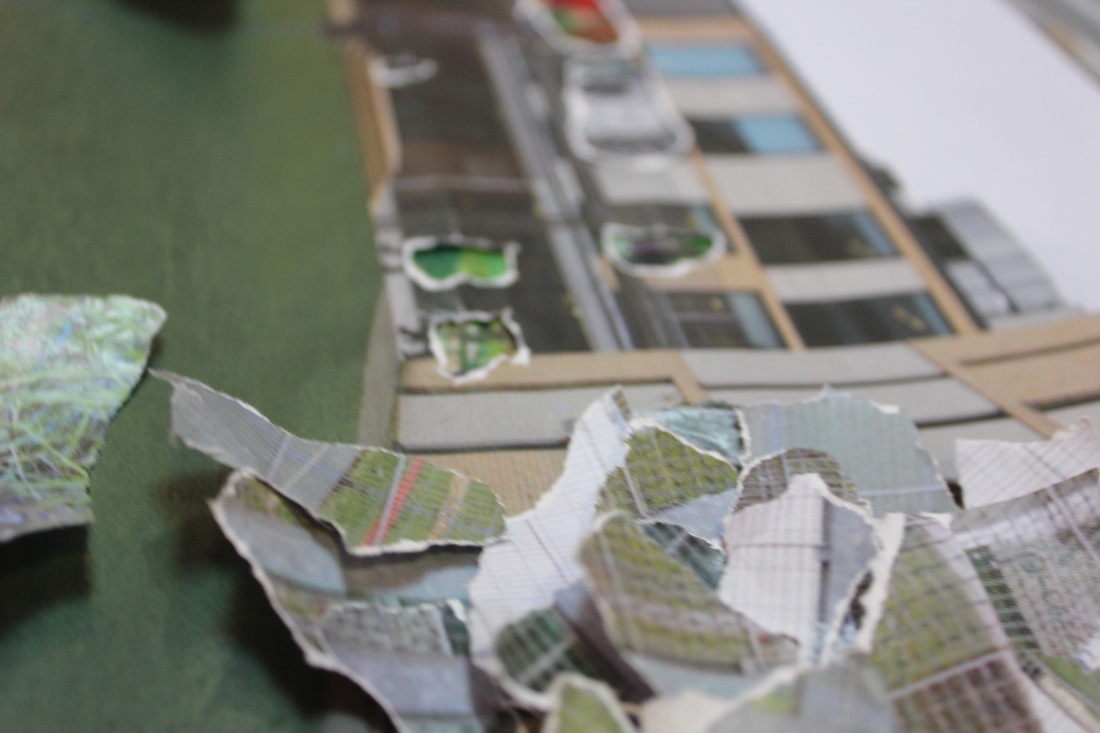
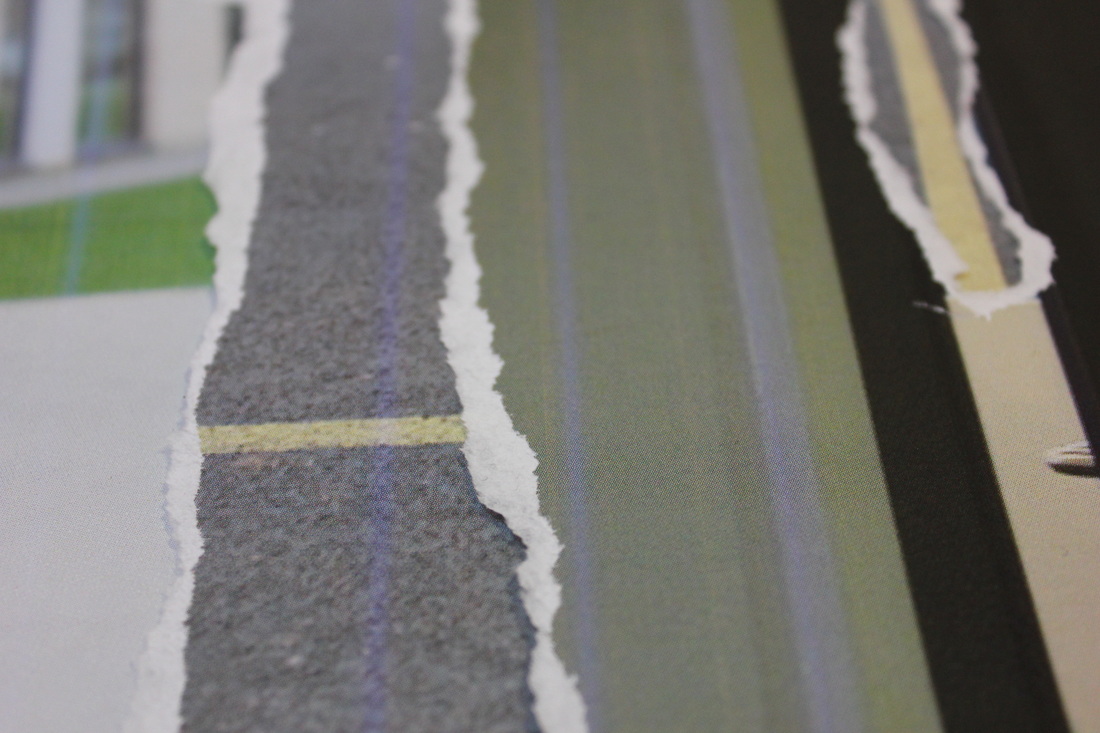
Joachim Schmid


|
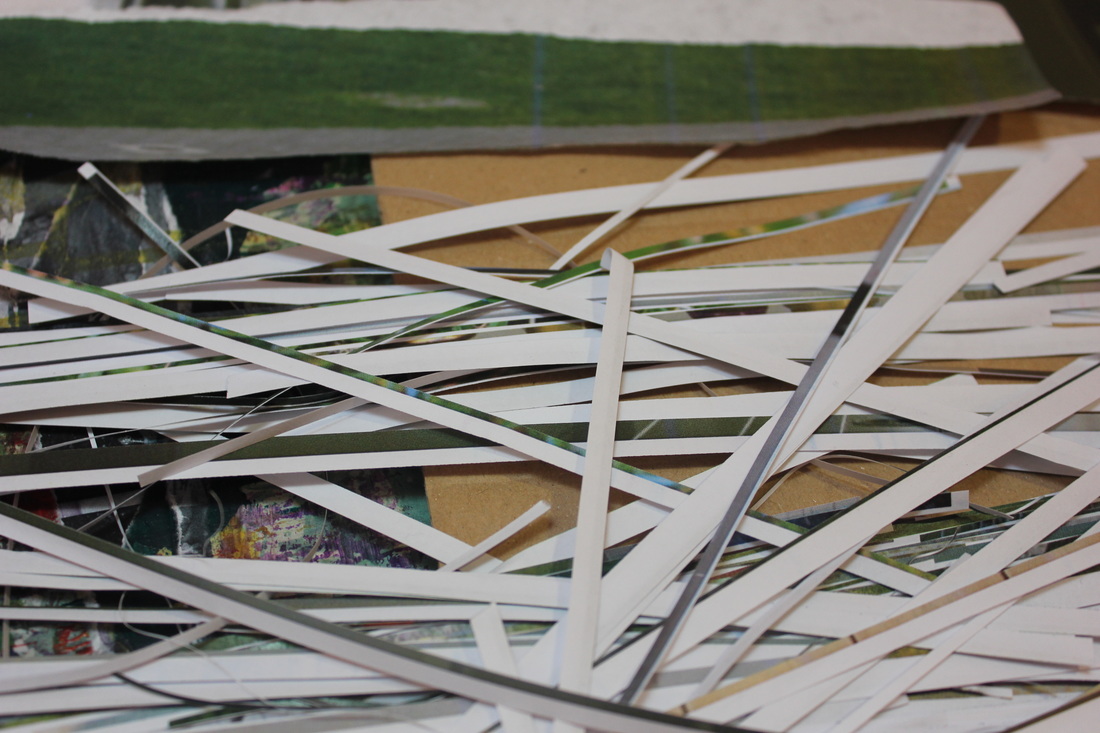
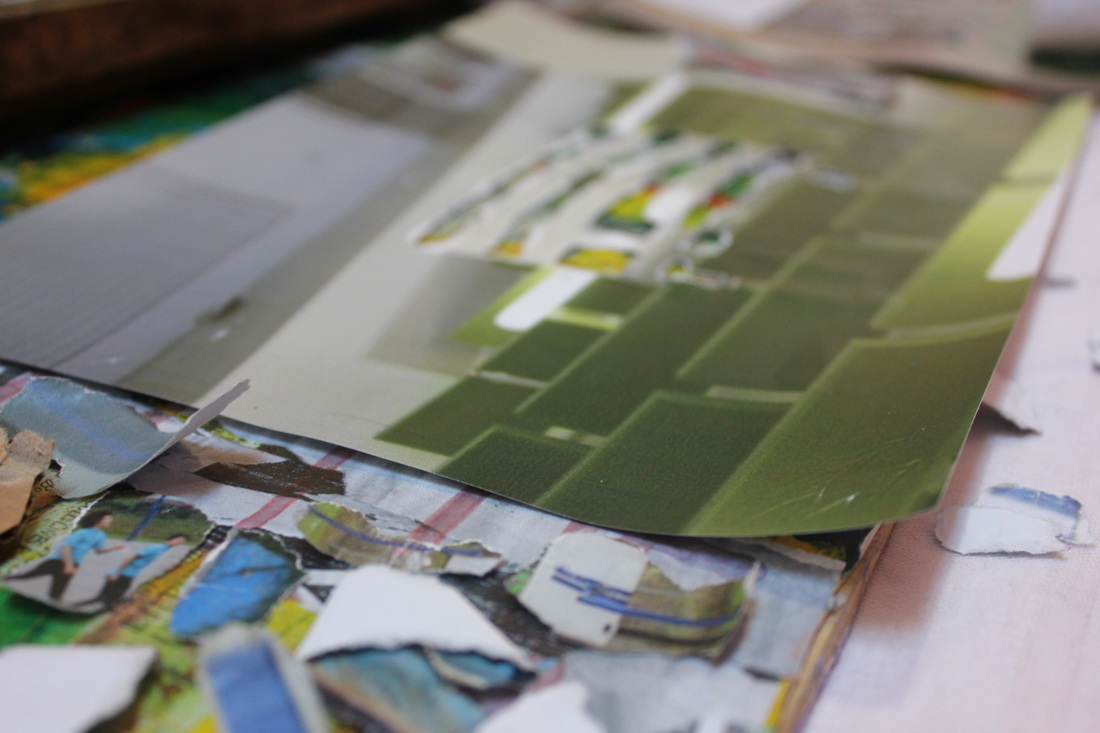
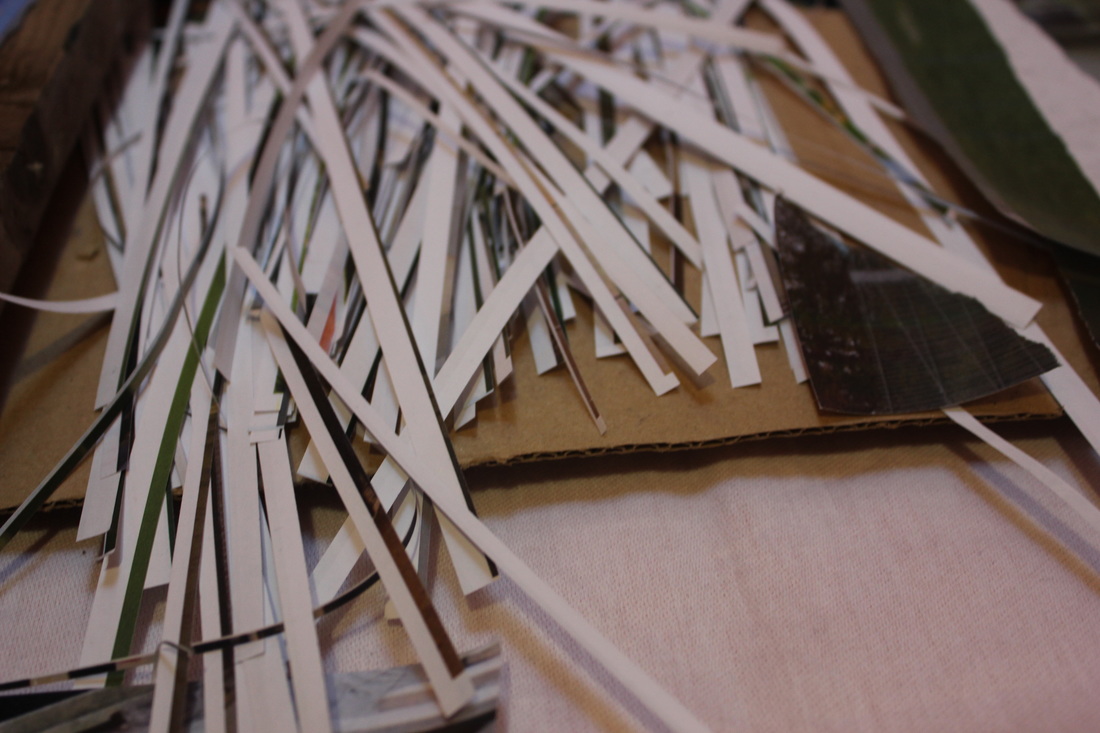
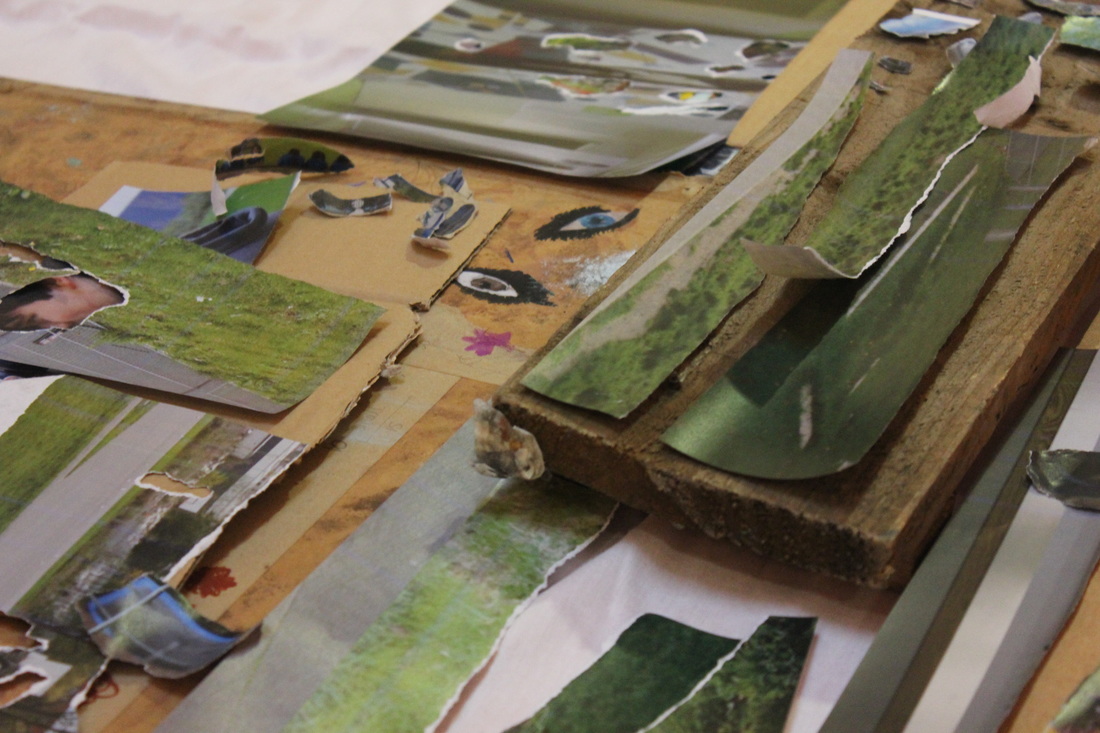
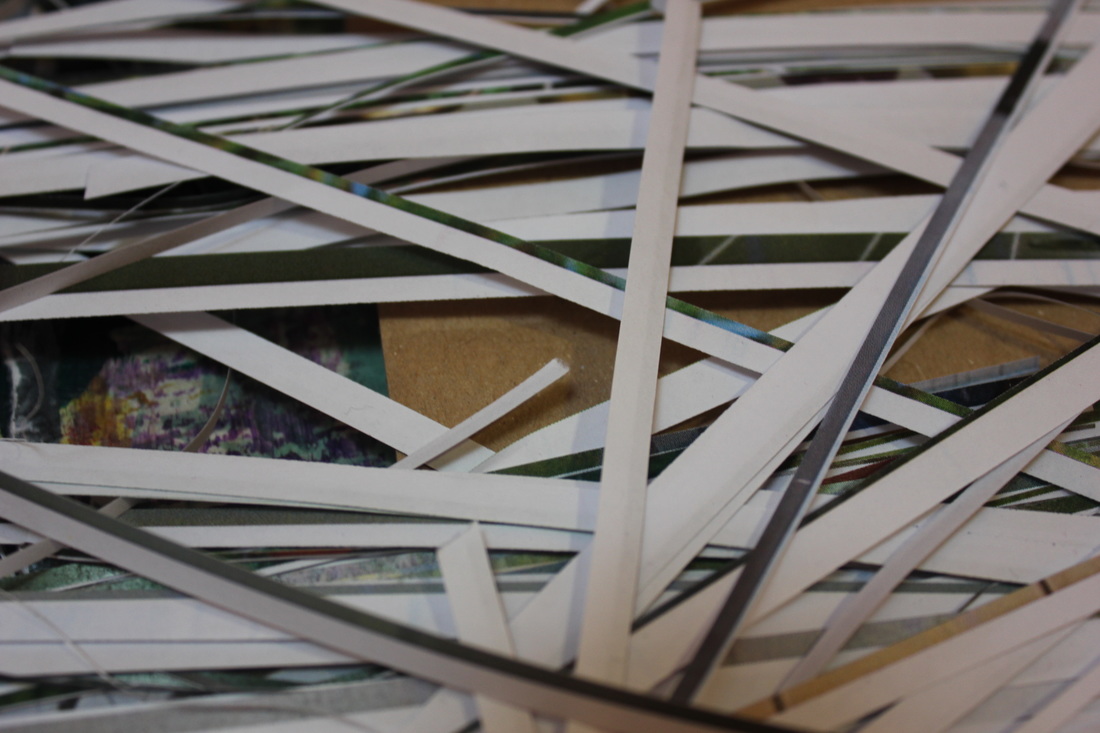
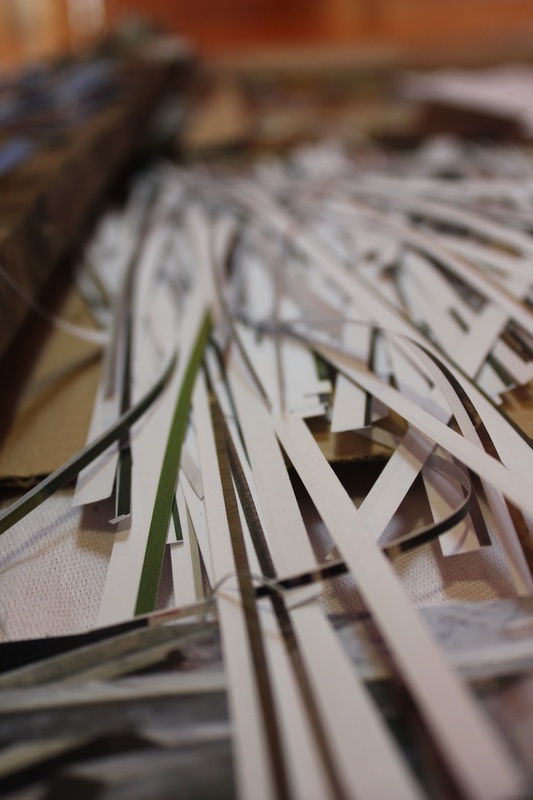
Most interestingI feel like this image is highly relevant to my work as my next plan is to print out 30 of the best images that I have taken and shred them to rearrange them onto mount board so it will possibly look like Schmid's image on the left.
|
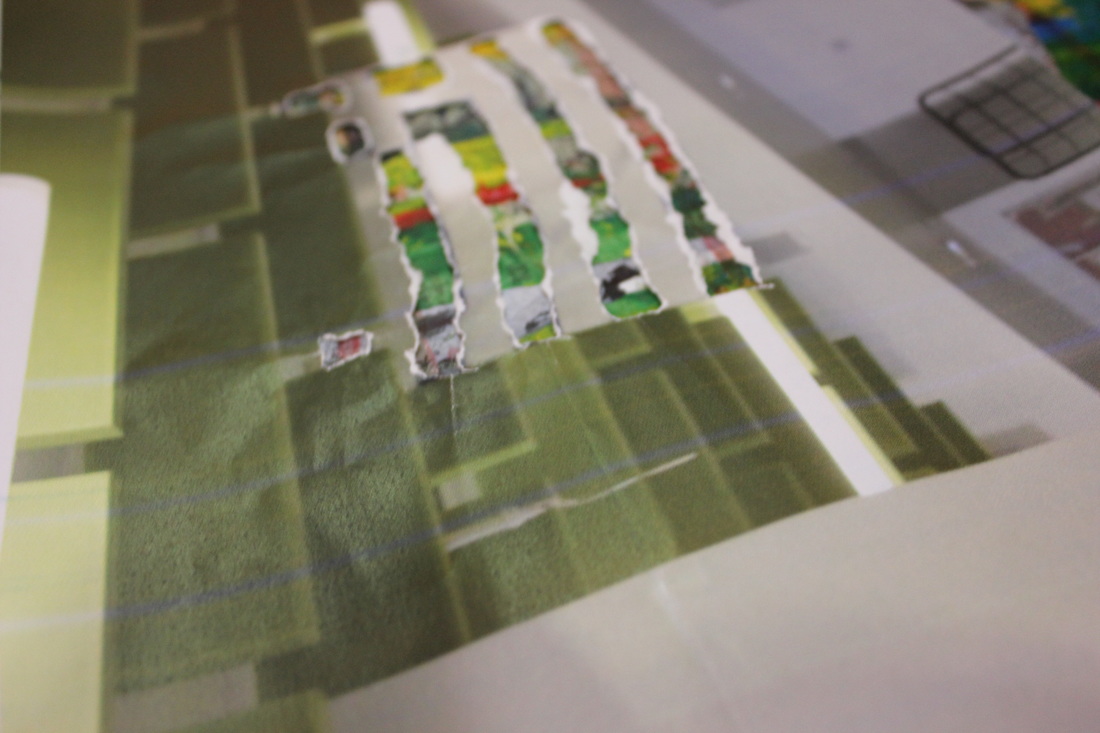
Glitching Images


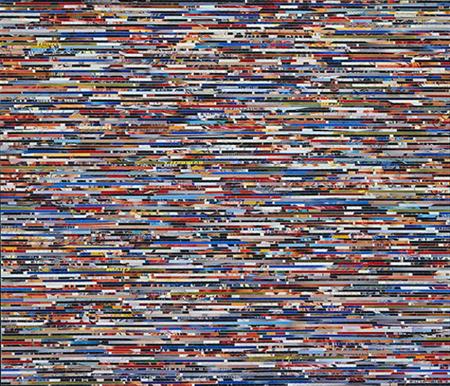
My method of glitching


I really liked the process of glitching as it was all down to chance as to what parts of the code I cut out and what parts I added in, I was really excited to see the finishing results of the glitching.
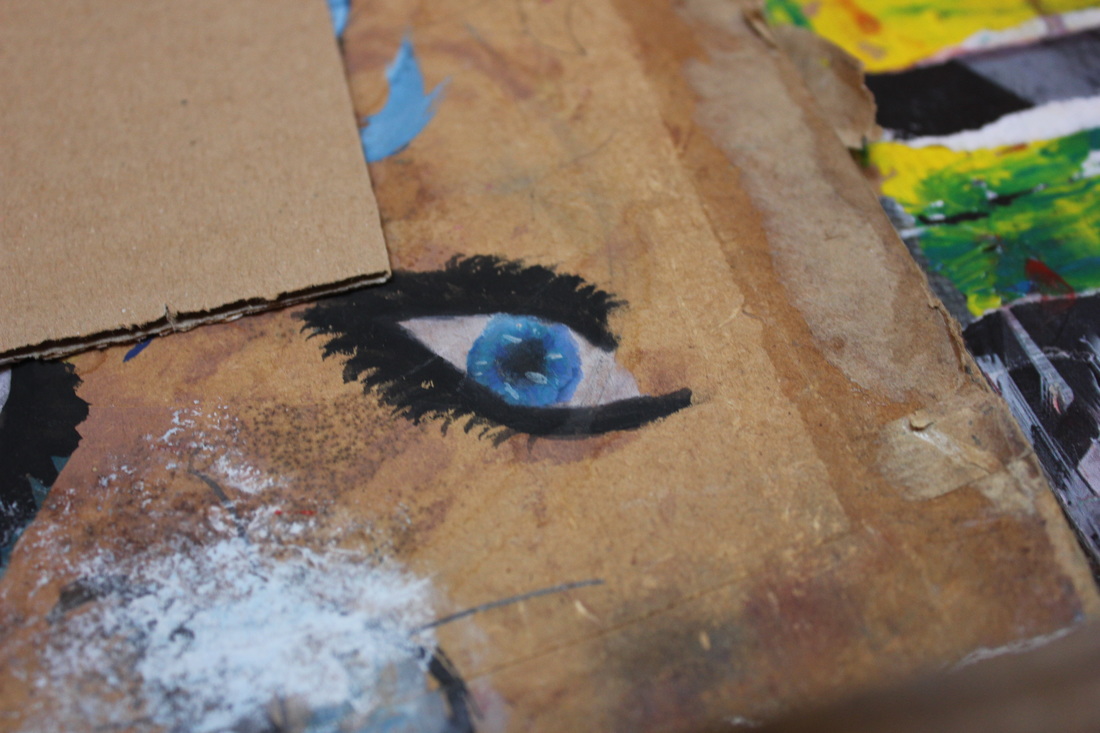
My second final piece.
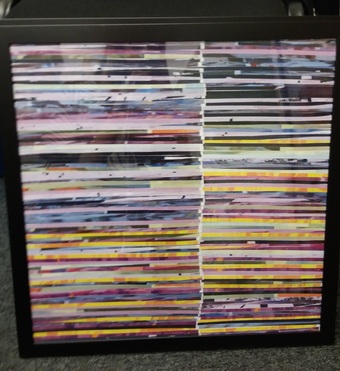
|
I'm happy with this outcome it took a lot of patience and motivation as it took a long time, looking at it, i think it is really effective, however, one thing i would change or at least attempt if I ever made another one of these would be to trim all of the white parts before shredding to see what it would have looked like if there wasn't a white line going down the middle, however, I do like the white line, it is quite effective.
|
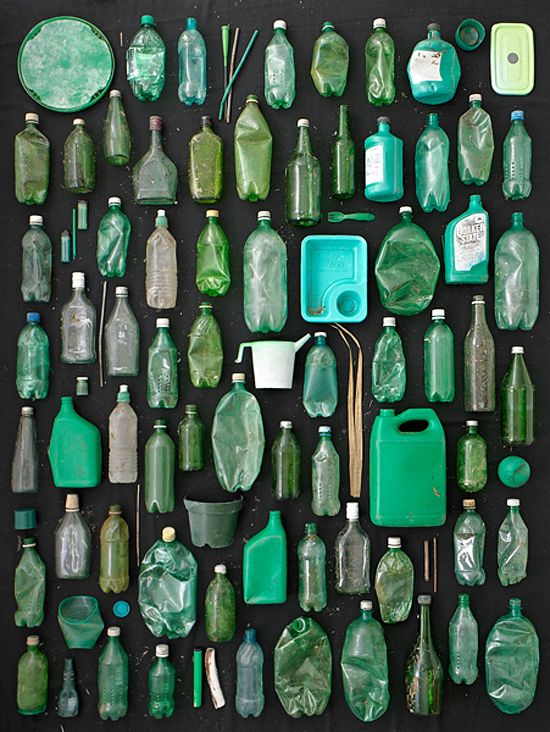
Mandy Barker


Mandy Barker collected objects of the same type, such as plastic debris, old parts of different objects, footballs, nature, and object from the ocean etc. Once she collected a good amount of these objects she distributed them everywhere and photographed them as a group . These images were photographed in order to get an emotional response from the viewers, for example the plastic debris from the ocean in particular as it represents the death of sea creatures from the litter that the public have thrown away carelessly. some of the ocean debris images have been collected from all around the world - from all of the places Barker has visited so it is 'global litter'.
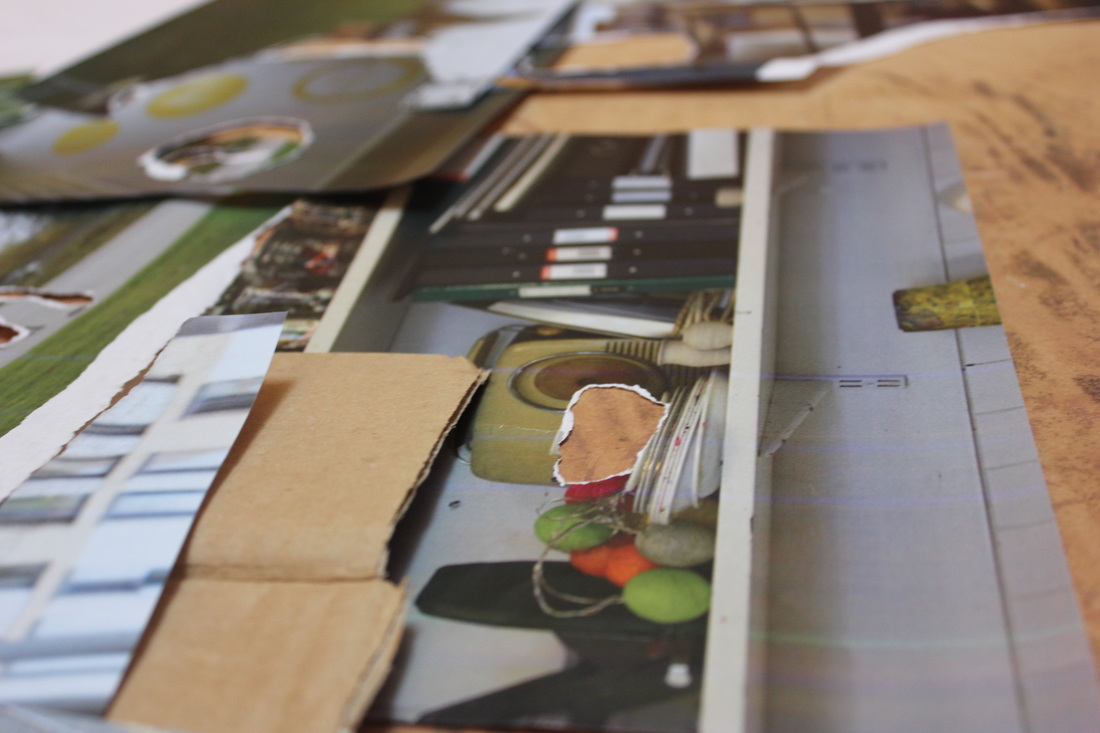
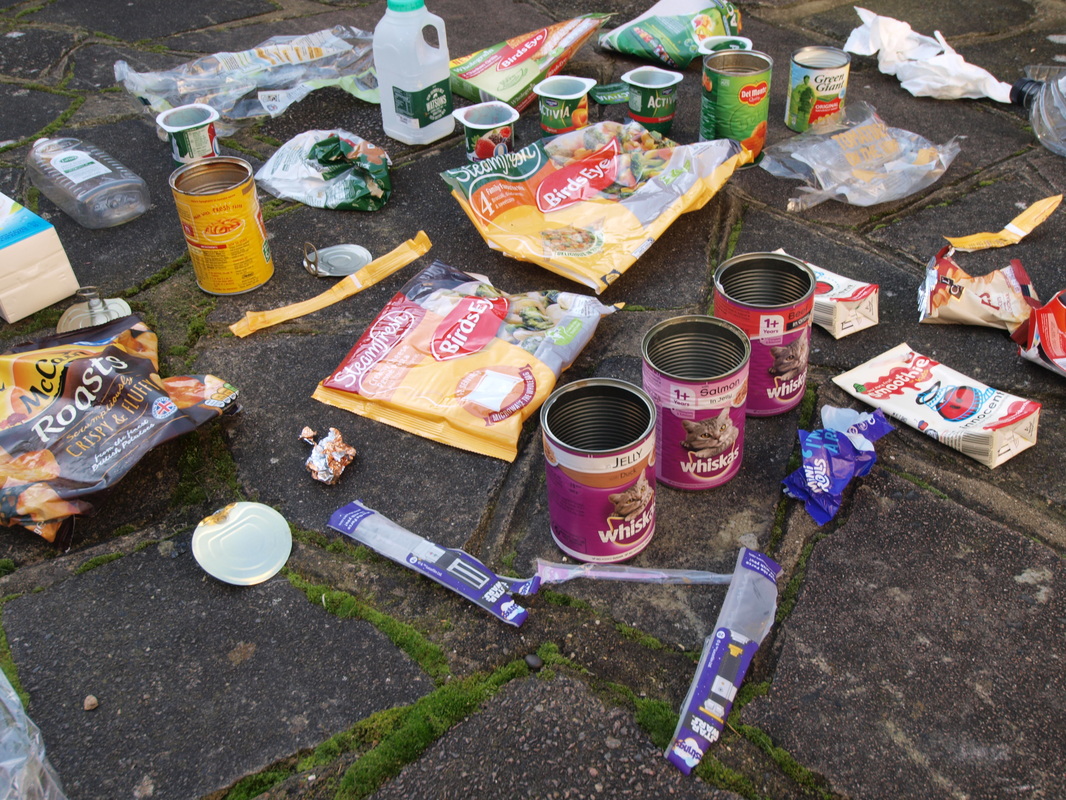
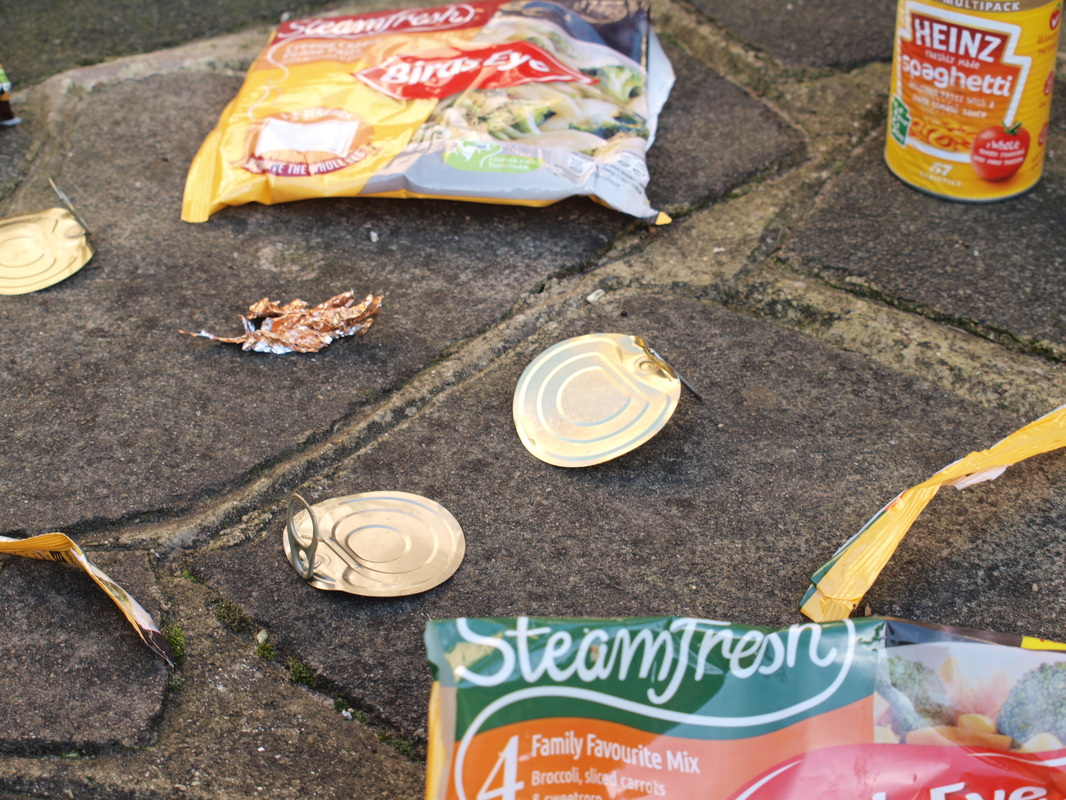
Keith Arnatt - Rubbish tip


Keith Arnatt took close ups of rubbish and discarded food at his local tip, he takes photos of the rubbish in plastic bags so they reflect the light, it highlights the natural light in order to make the images look abstract. Keith arnatt wanted to put the viewer in thr position that he was in when he first noticed the food.
Examples


My photoshoot - Rubbish Bins
My take on Mandy Barkers' series


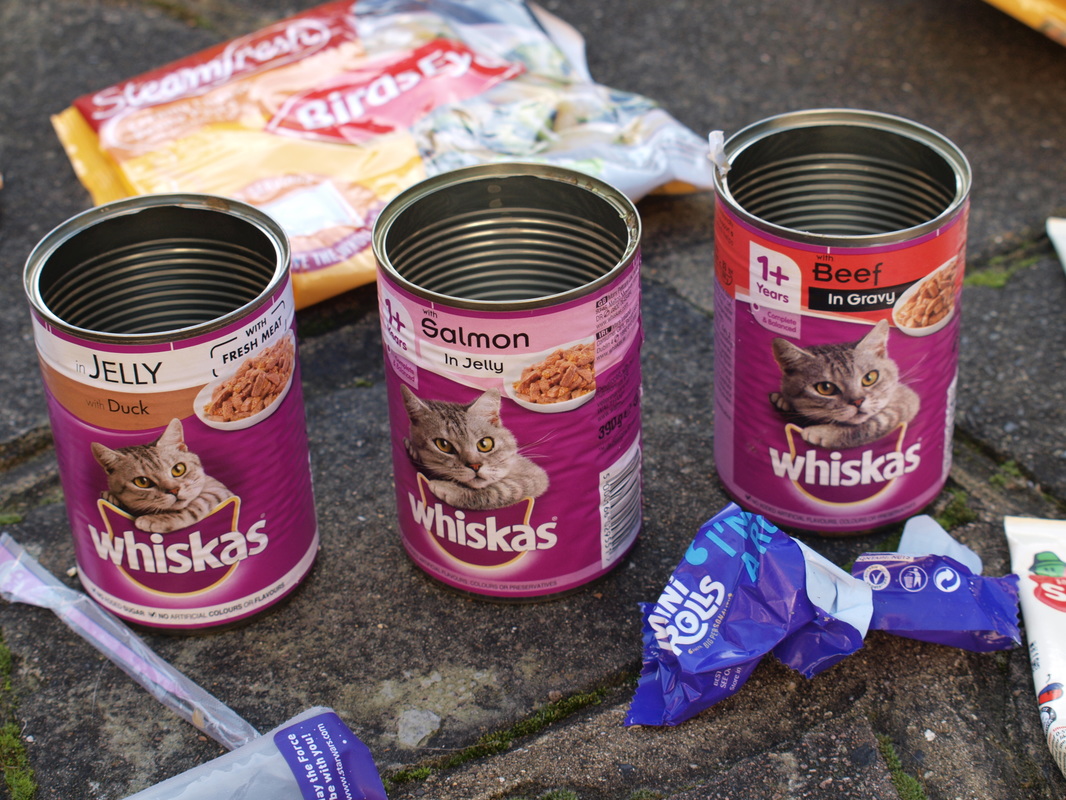


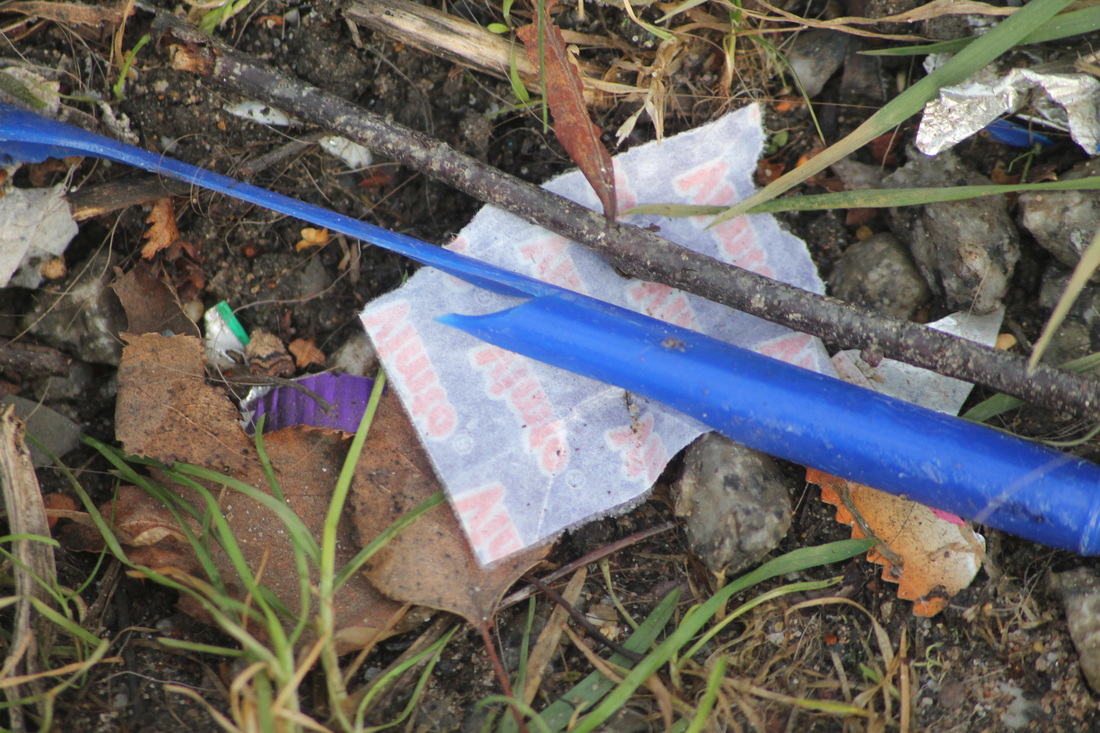
This is my photoshop of the recycling bin, firstly, this is a new camera so there are a couple of poor quality images that are blurry but i didnt discard them due to the fact that it shows progression throughout the photoshoot. I decided against using a white background as it just seemed too neat and fake for the things i was photographing so i decided to use a more natural background - the floor; i thought abnout where you find most rubbish - on the floor where people chuck it, so it made sense to photograph it on it. I organised the objects into colour only, i photographed the objects separately in their colour groups and all together with the other colour groups as a whole collection.
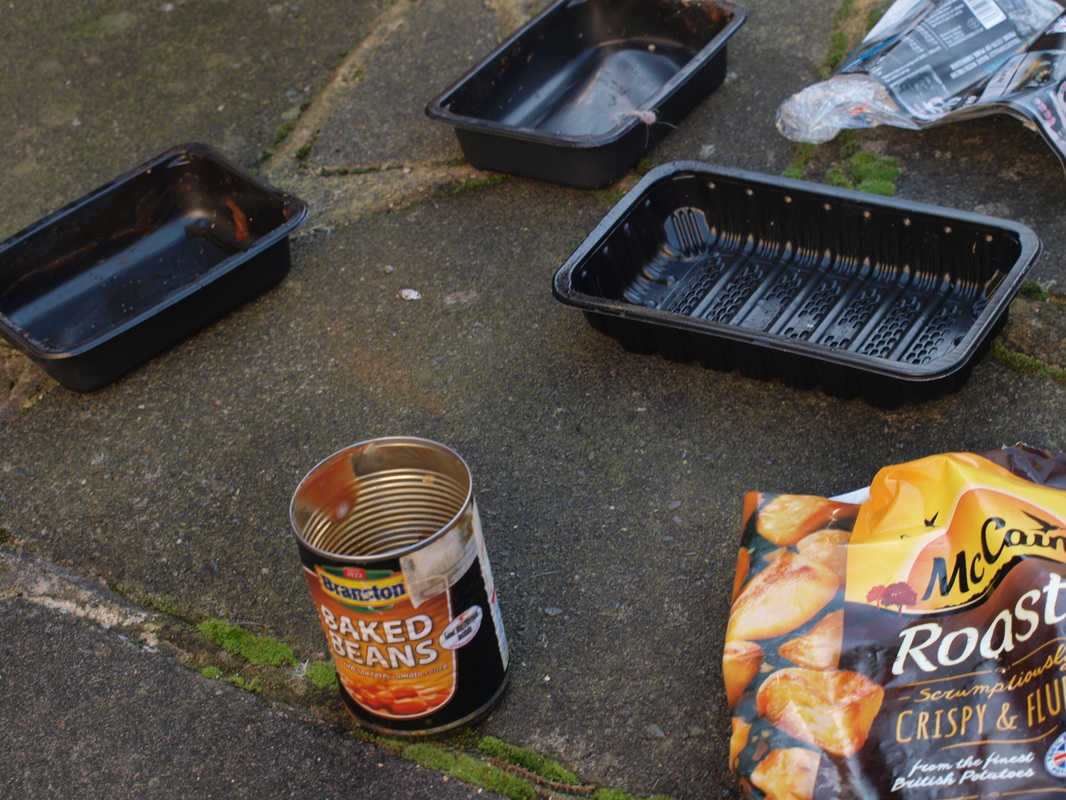
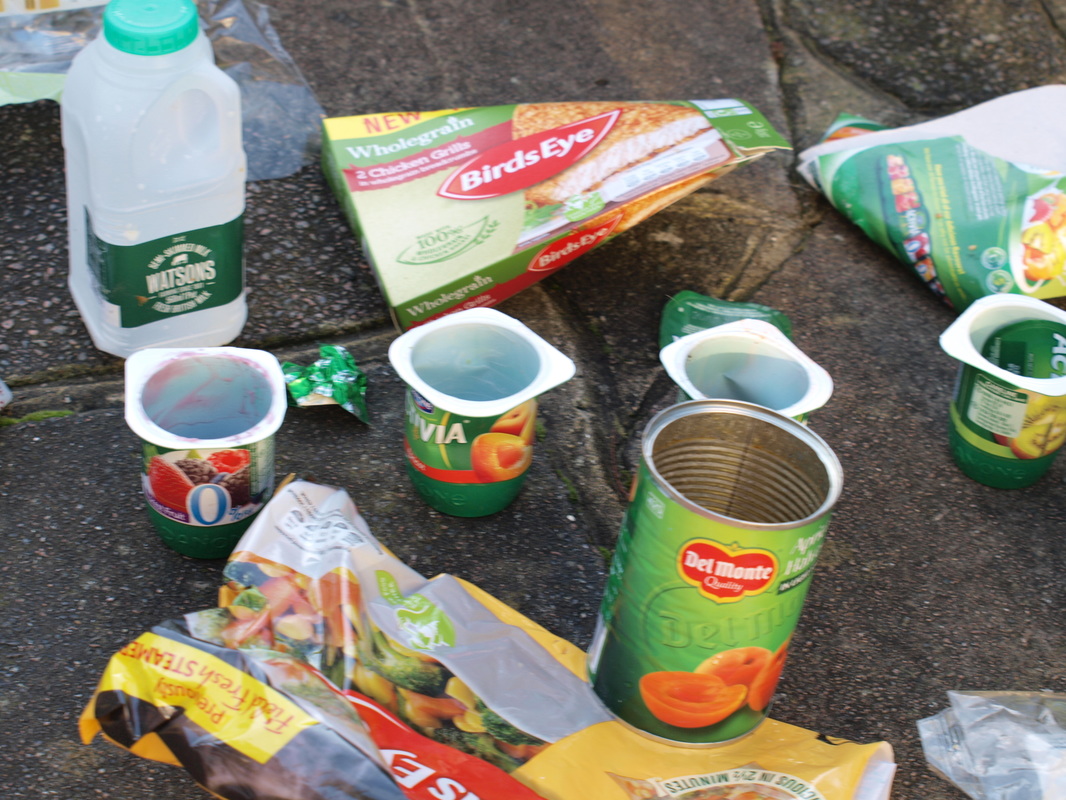
My take on Keith Arnatt - Rubbish Bin


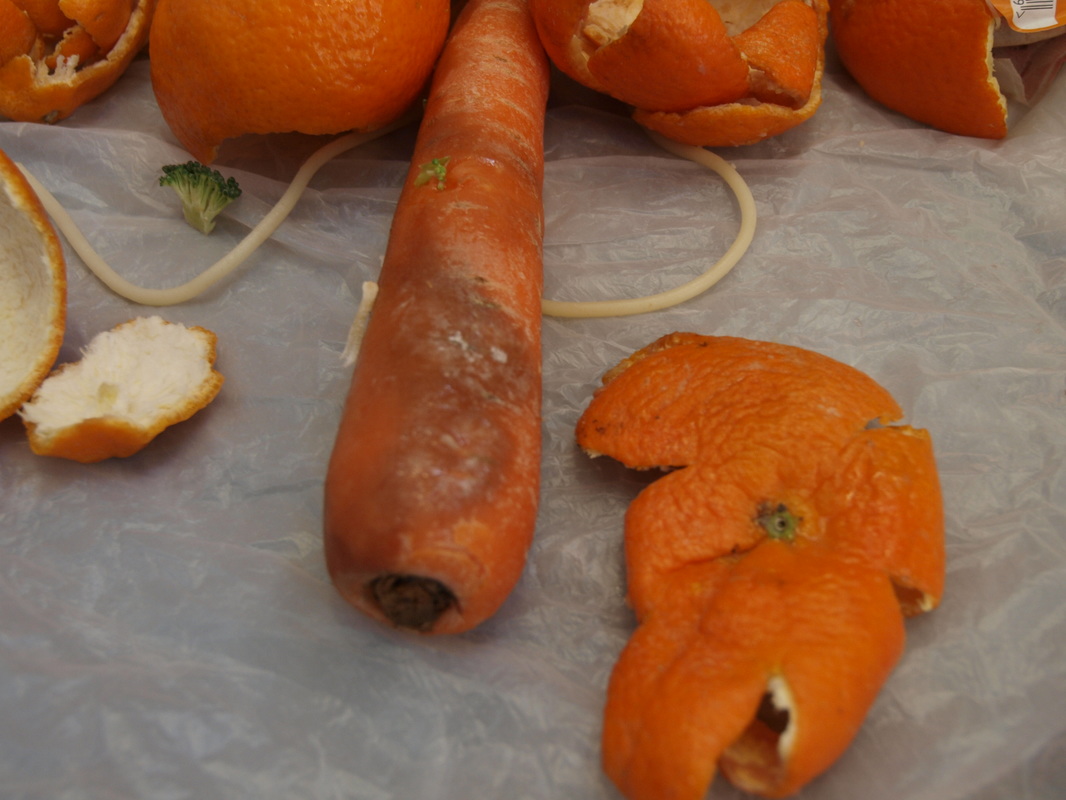


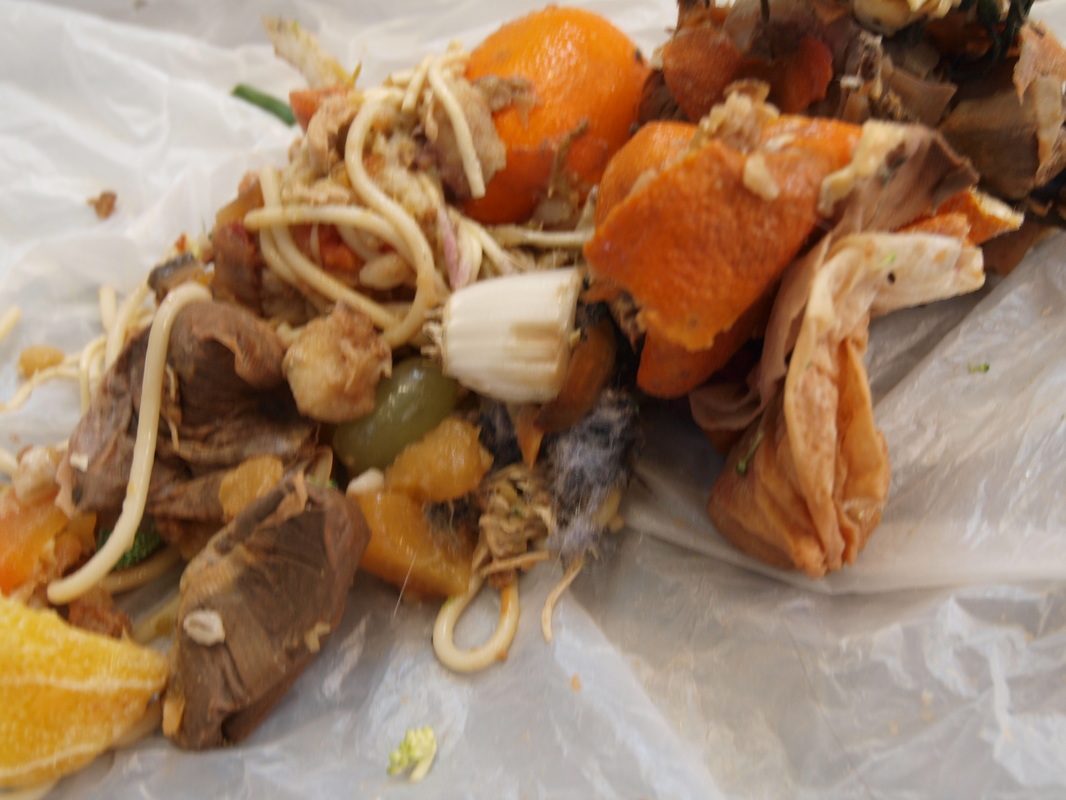


As I was photographing the recycling bin I thought about photographing the food waste bin, I used the same technique as Arnatt did when he used plastic bags to reflect the light. Once again This is a new camera of mine that I wanted to use so it took some getting use to, for this reason the are some unwanted shadows in some of the images however I haven't discarded them from the series as I want the viewers to see how the images progressed as I went on. I tried to take the images in categories such as colour and food type, i.e oranges, tea bags, pasta, grapes etc.
http://www.tate.org.uk/learn/online-resources/glossary/m/memento-mori
http://www.nga.gov/content/ngaweb/Collection/art-object-page.61174.html
http://www.nga.gov/content/ngaweb/Collection/art-object-page.61174.html
This video shows the decay of the rabbit but not the apple/peach, I don't really understand why the apple/peach didn't rot too but the photographer left the camera on so it took photos every 5-10 minutes until the rabbit was fully decayed.
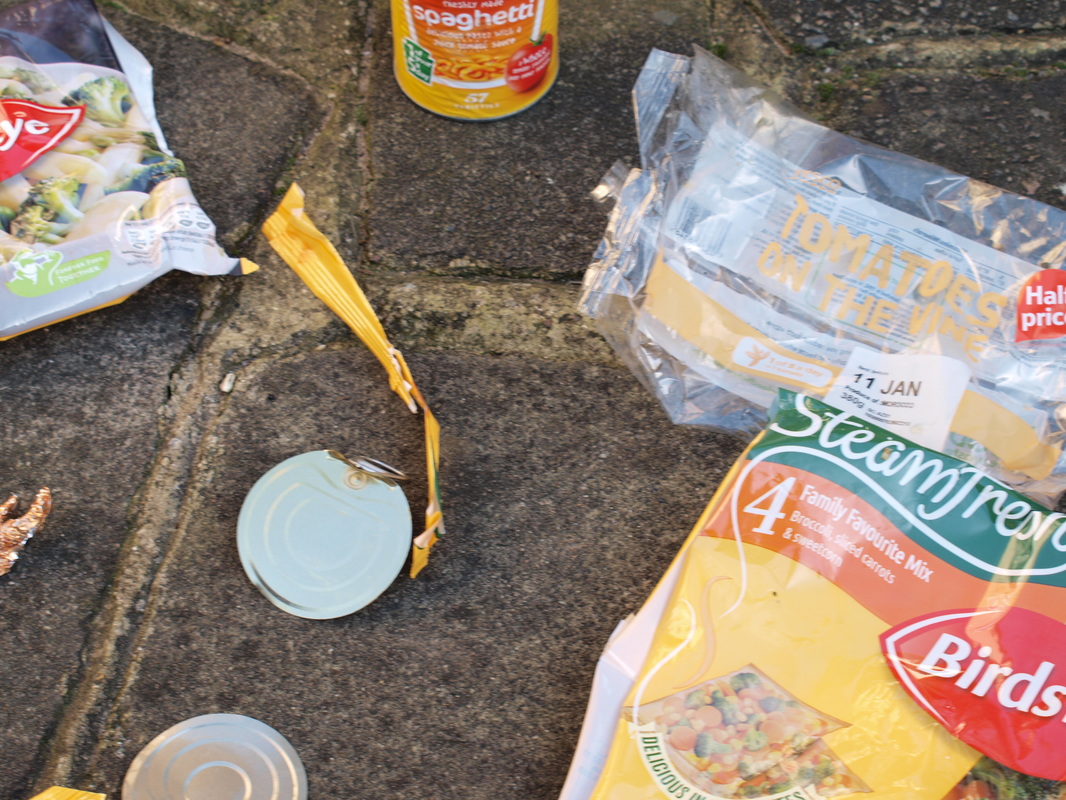
photoshoot of rubbish using the macro lens.


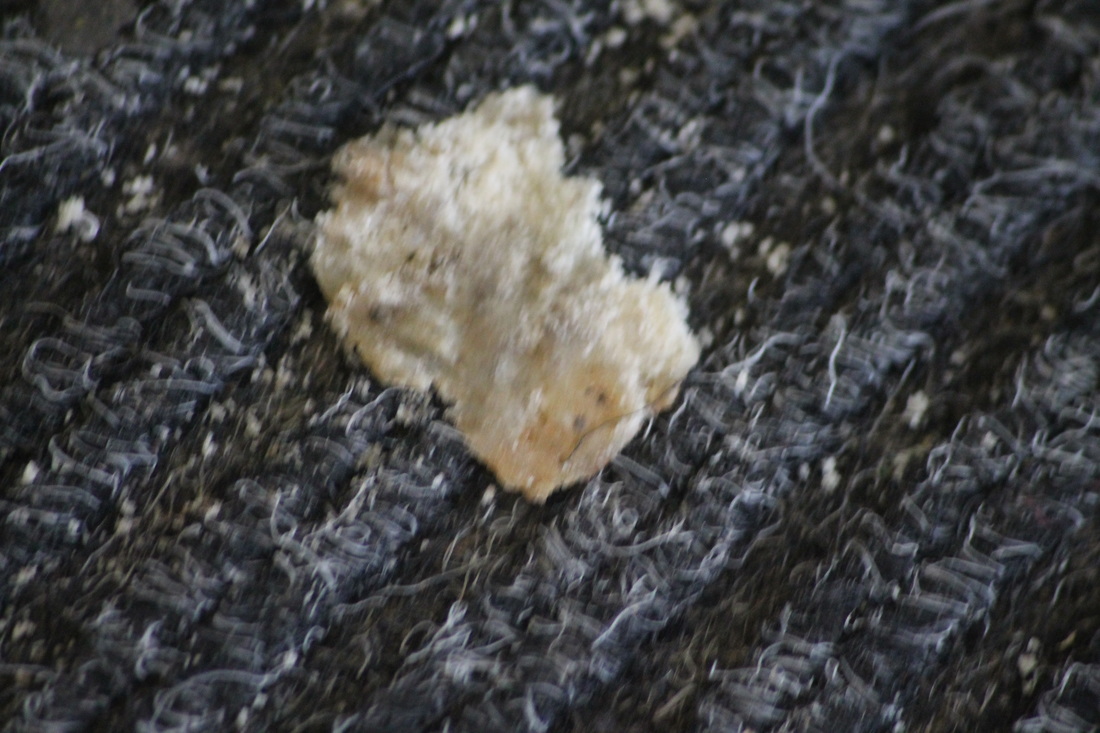


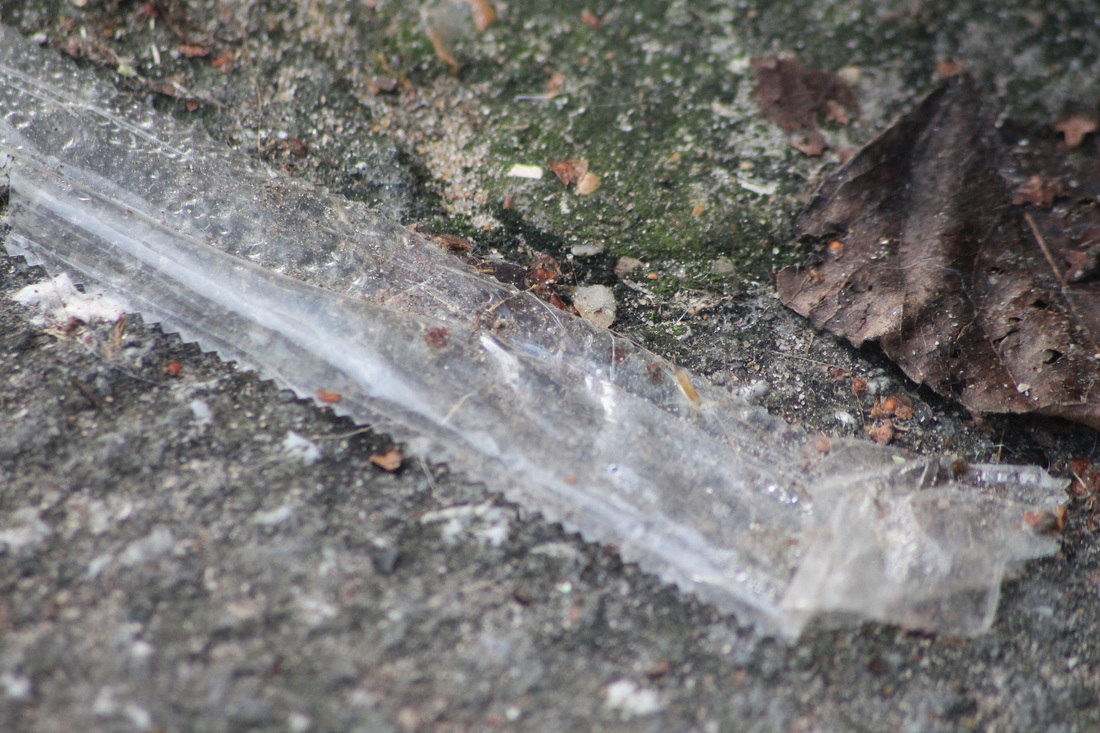


In this photoshoot I used the macro lens to capture the rubbish close up as some of the details in the images can't be seen by the naked eye. however after this photoshoot I decided to stop taking photo's of rubbish as there wasn't anything else I could do with that topic so I decided to move onto something else.
Plastic bag landscapes - Vilde Rolfsen
Vilde Rolfsen created a series of landscapes images of plastic bags, he used different lights to show off the different dimensions in the bag. I love these photos and it is definitely something that I want to do as when you at these images you have no clue of what they are and that is what I love, the mystery.


My plastic bag landscapes

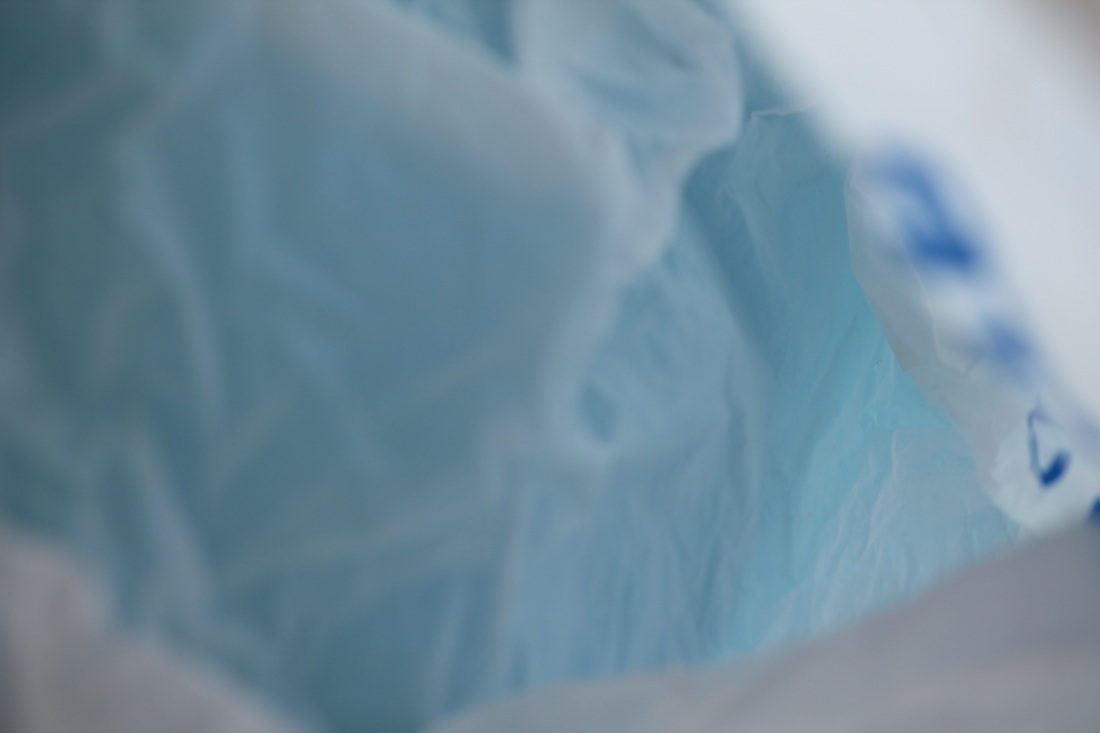


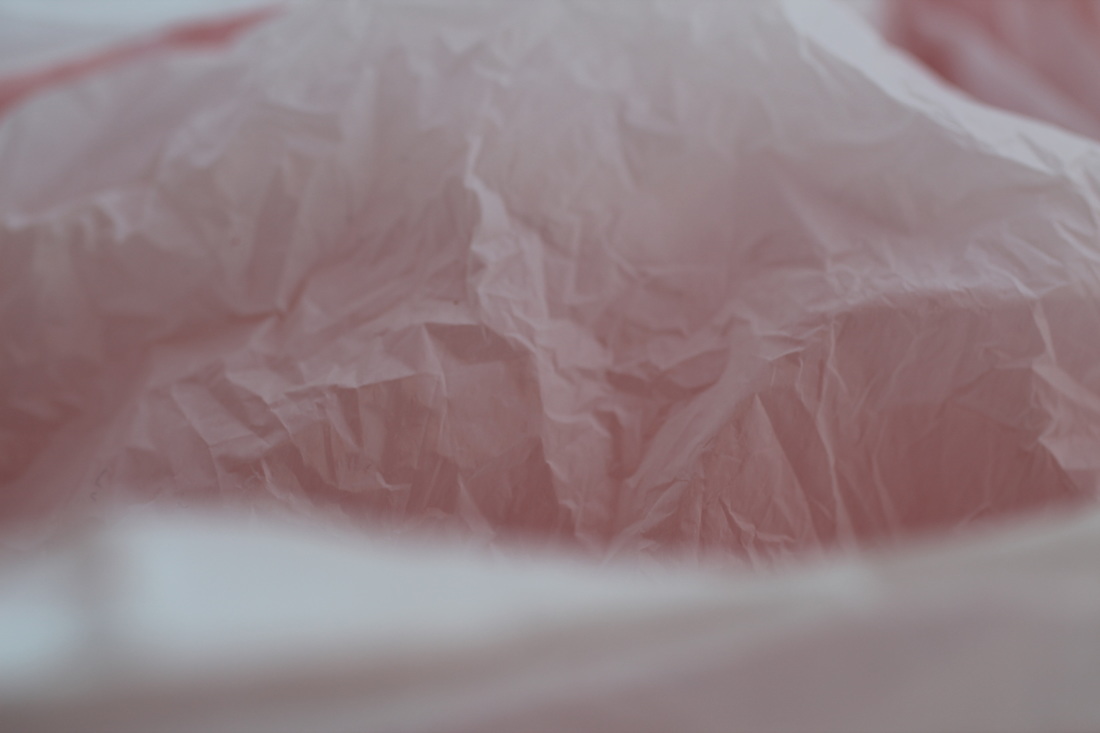


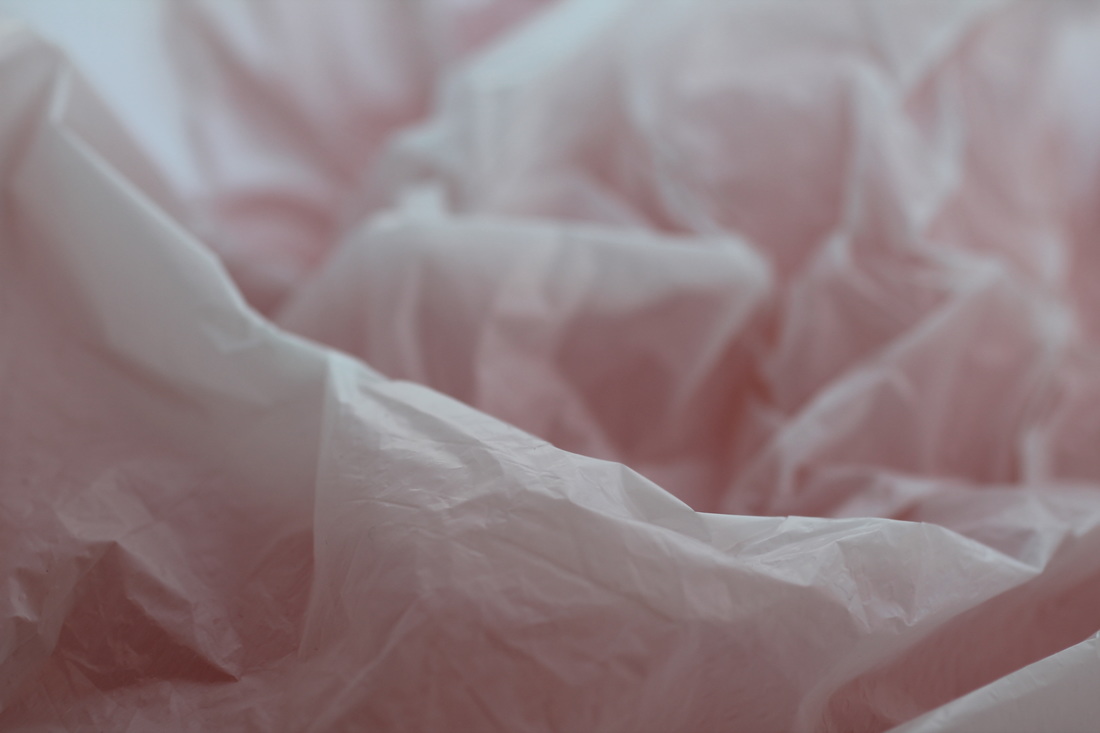


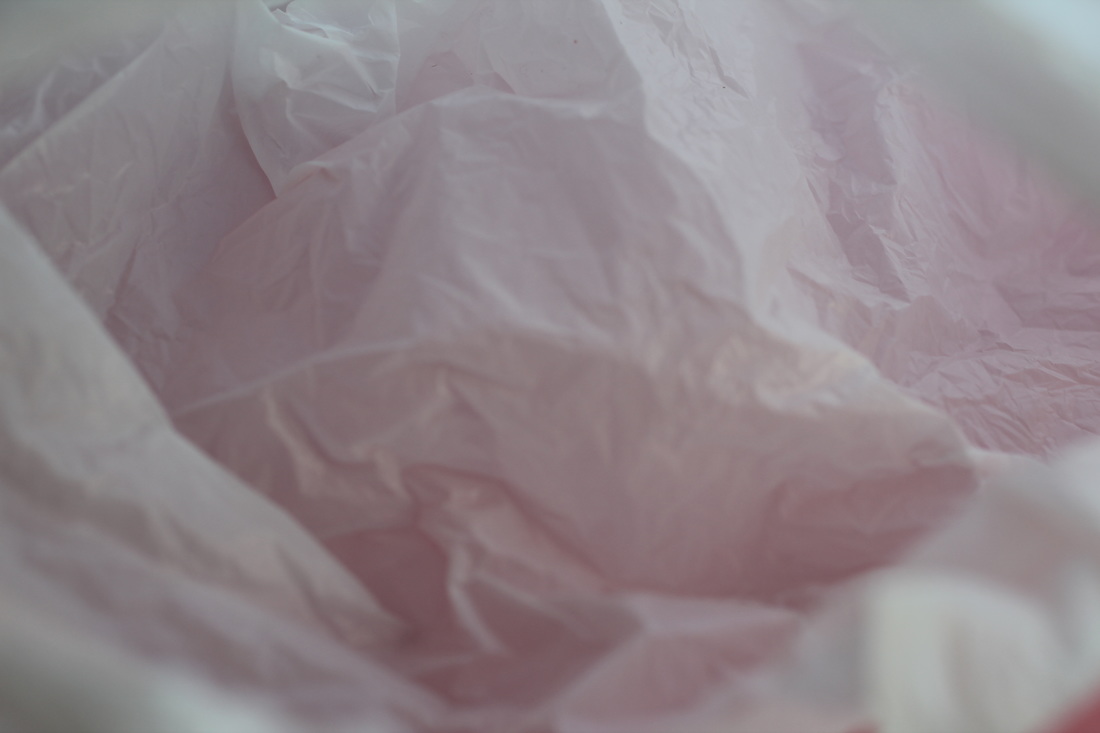
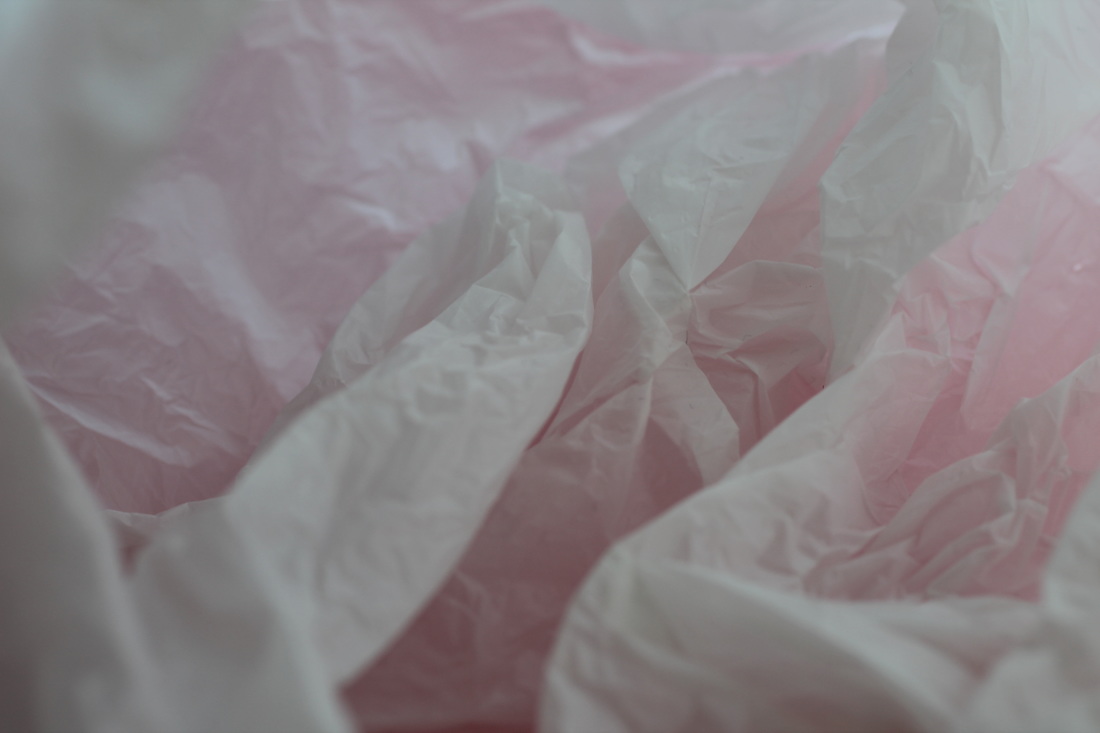


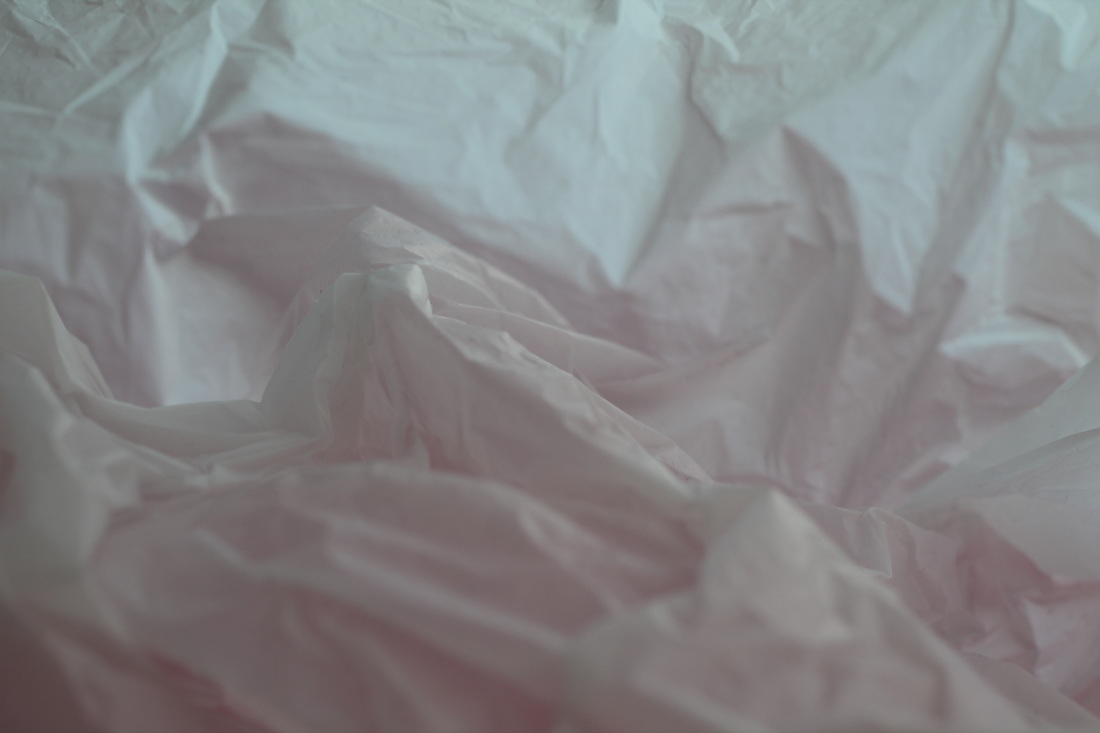


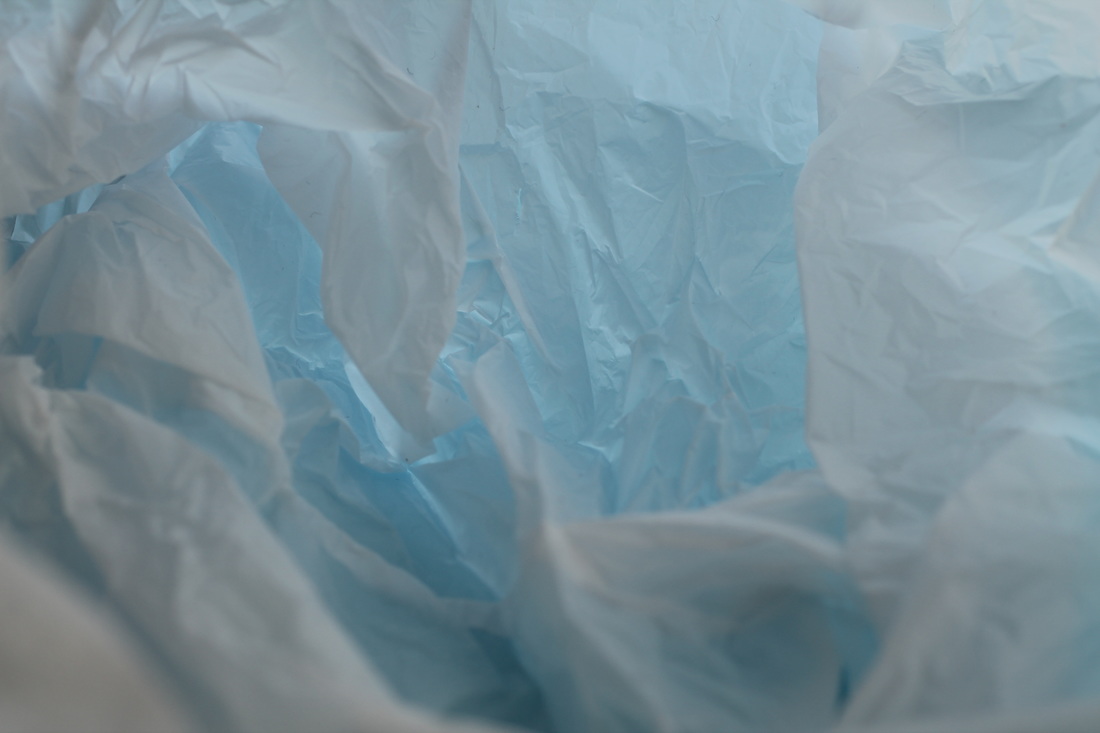


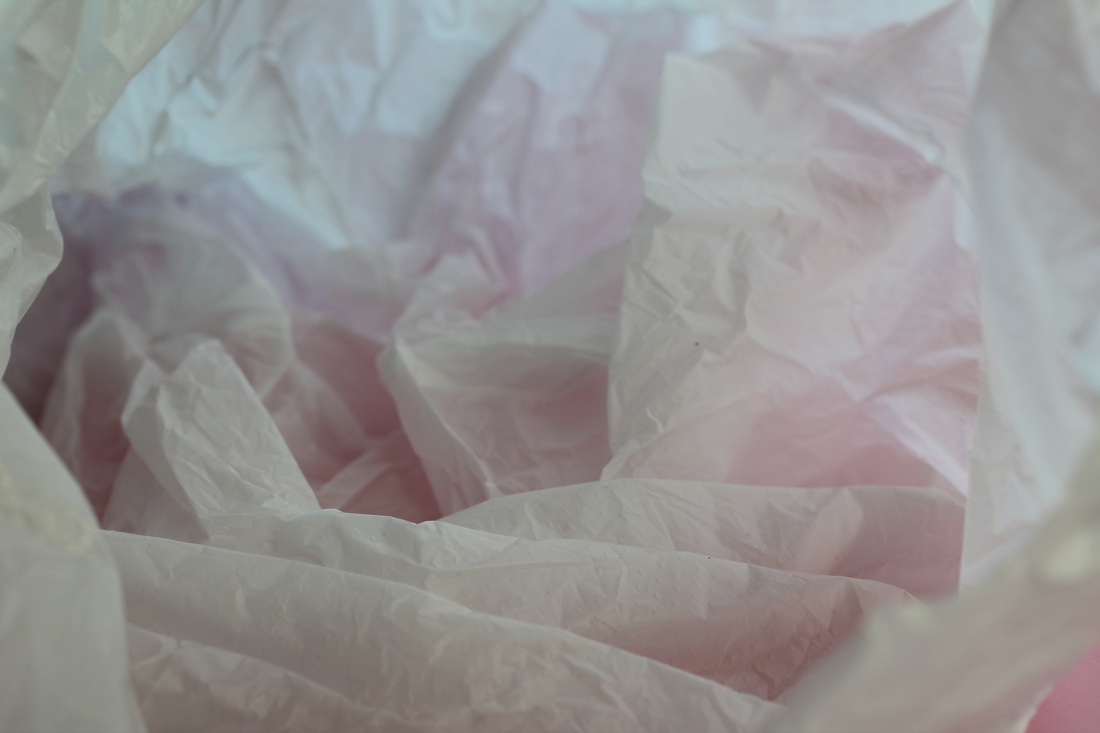


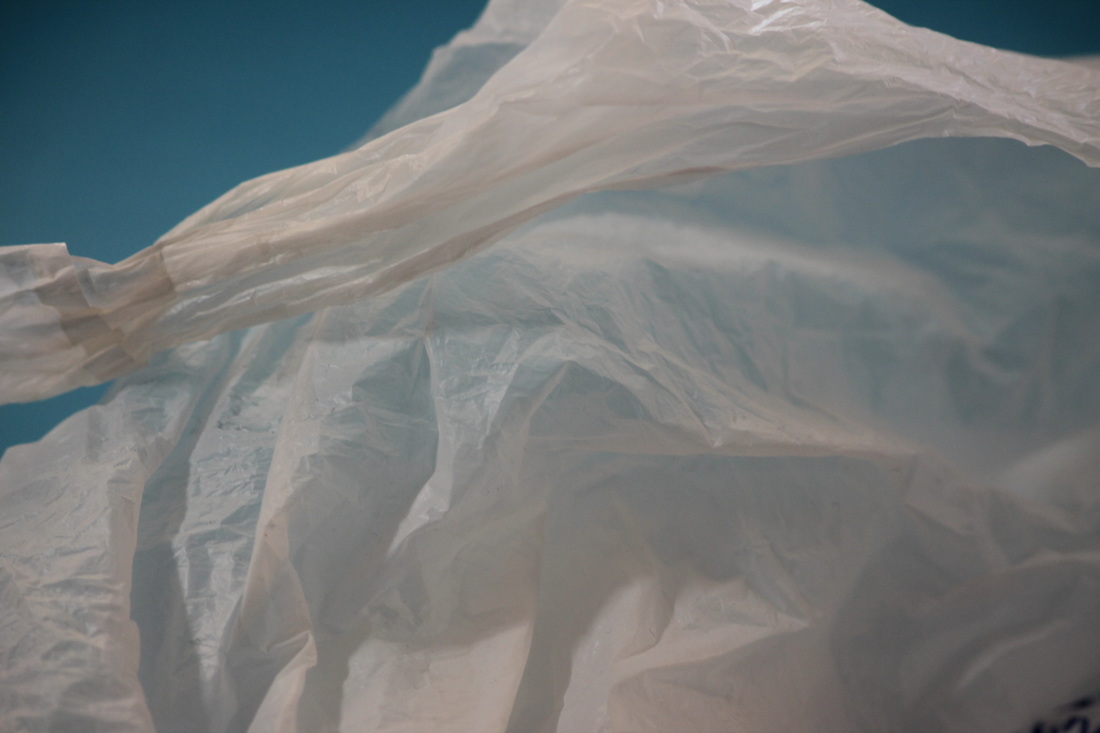


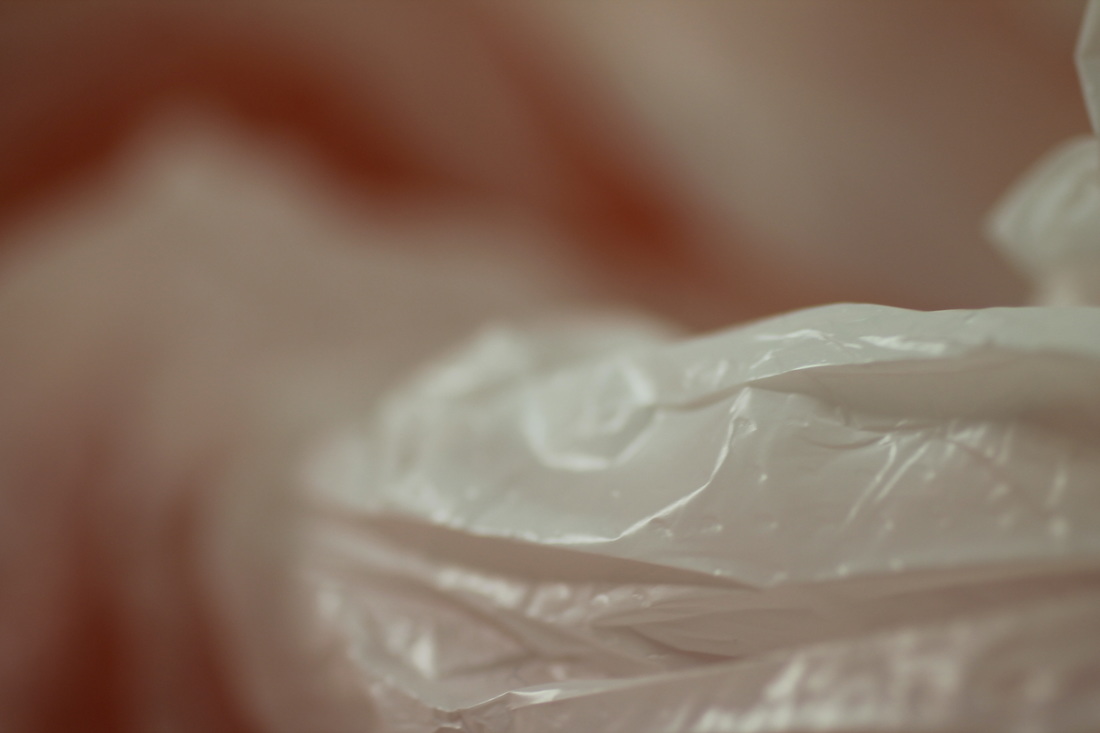


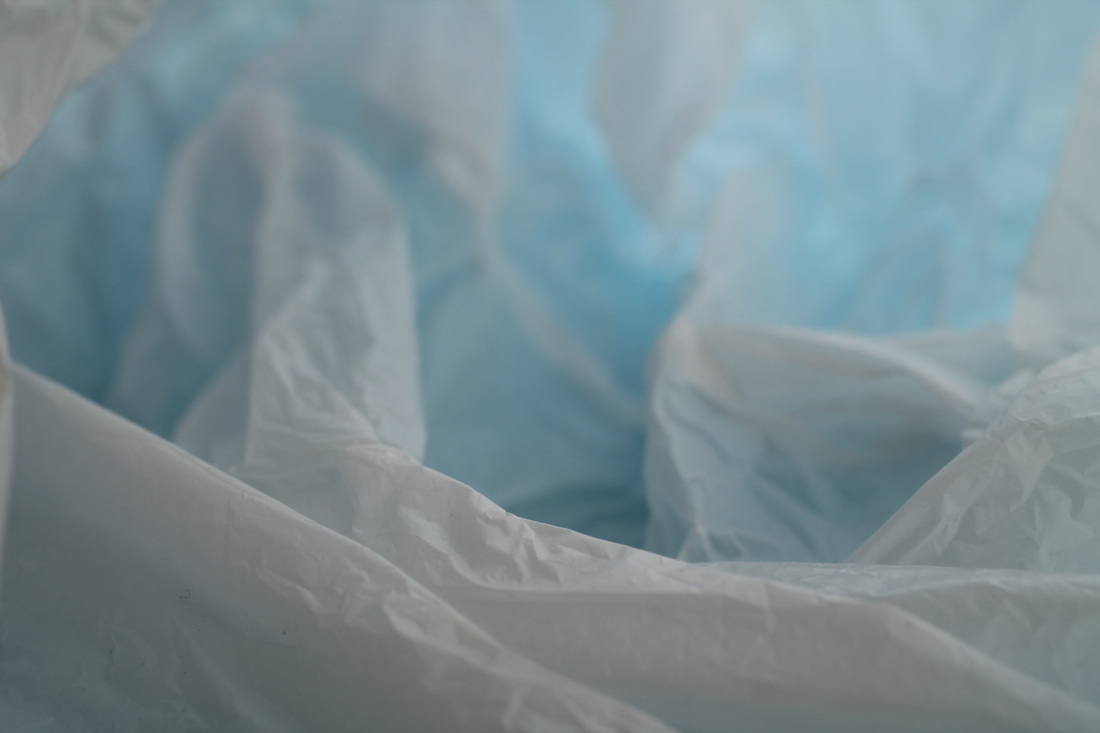


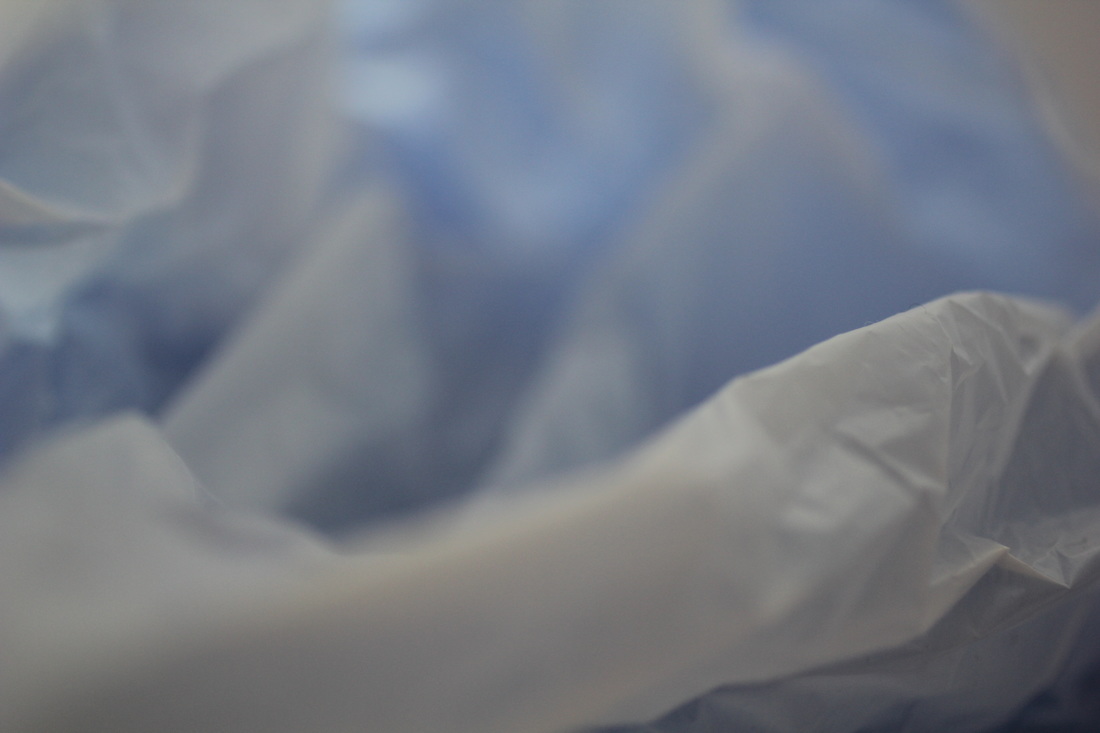


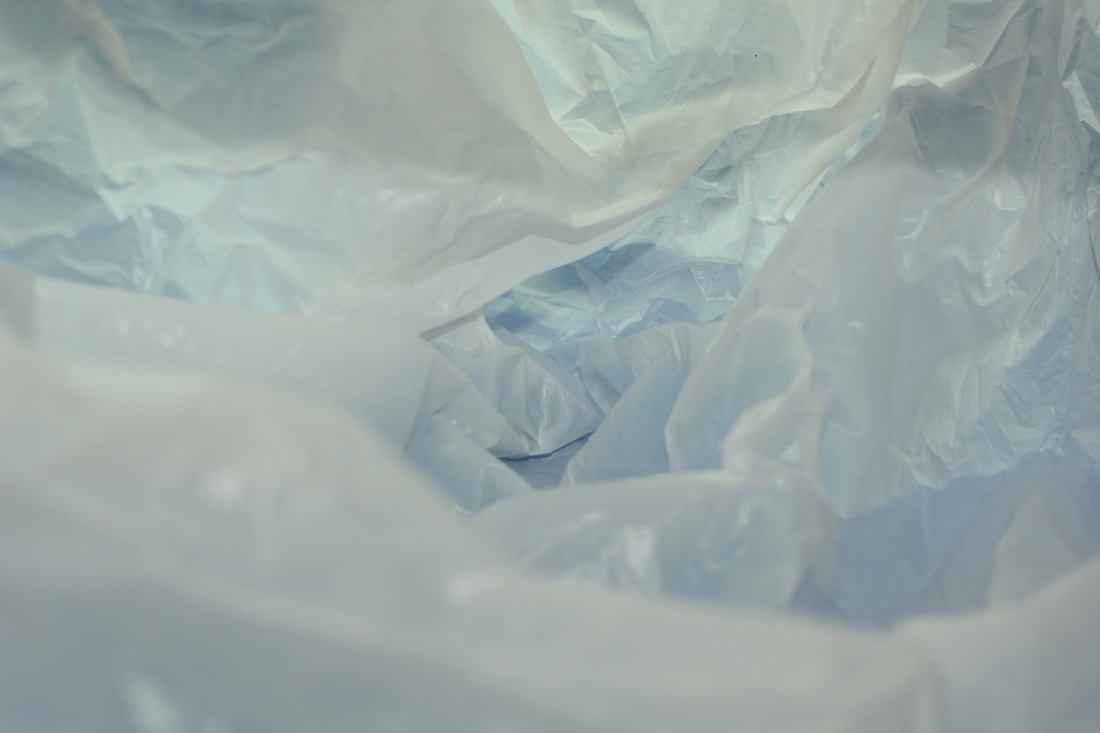
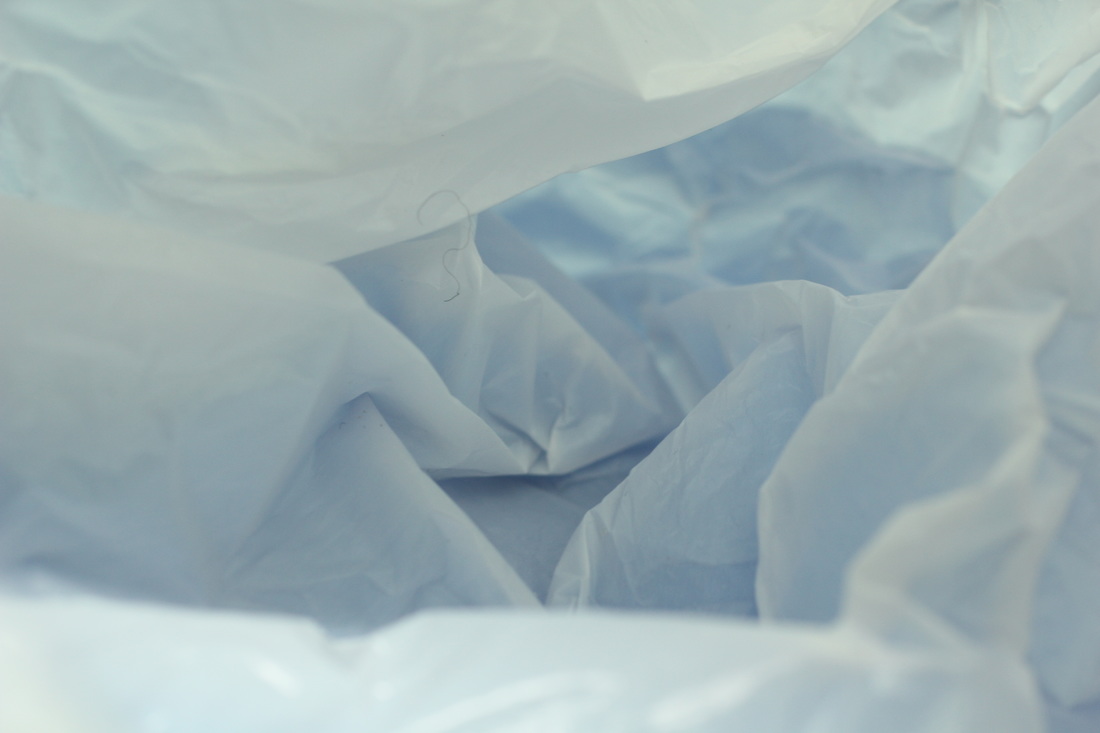


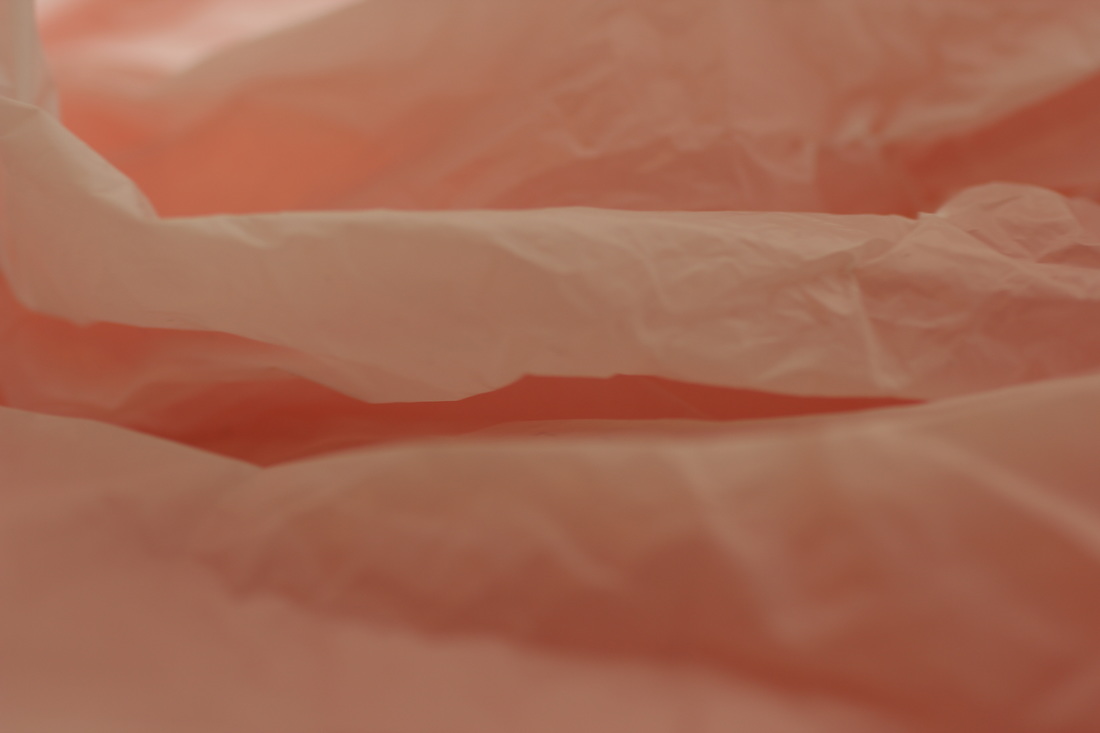
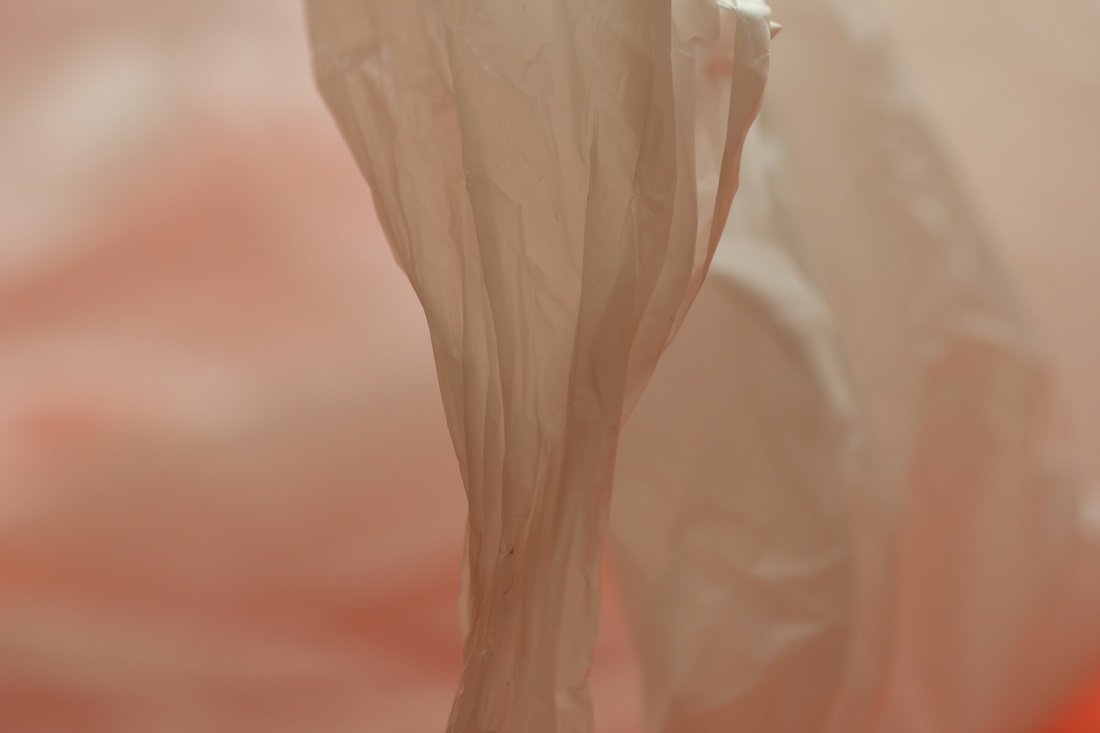

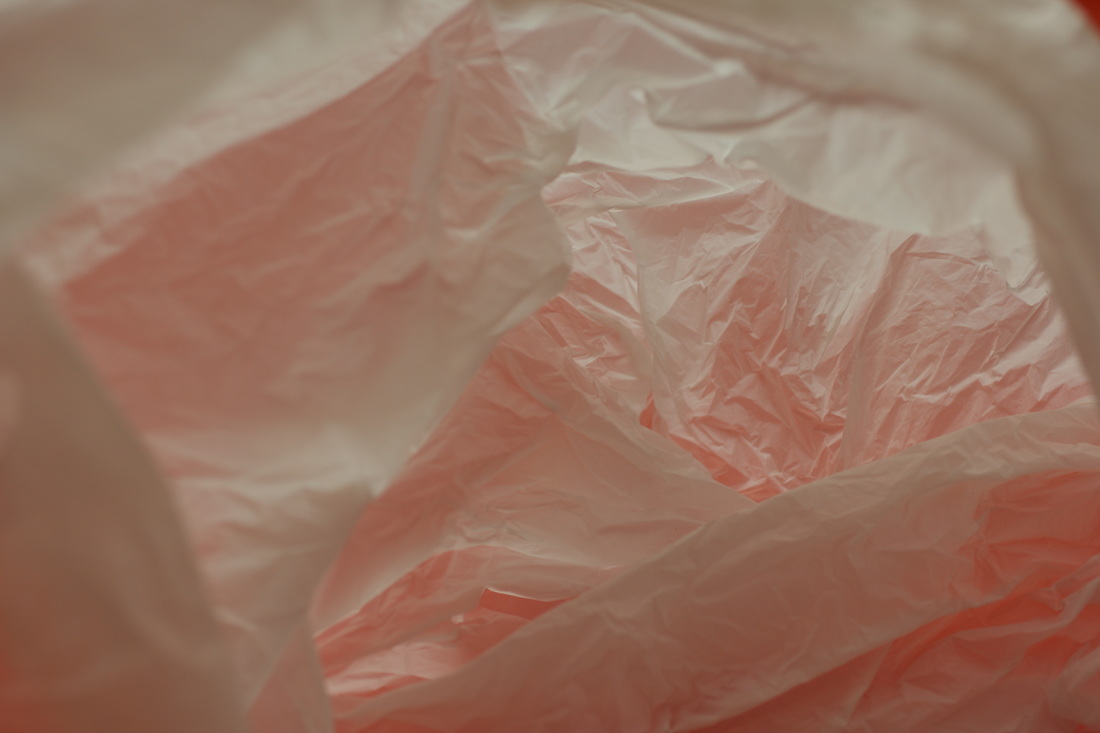


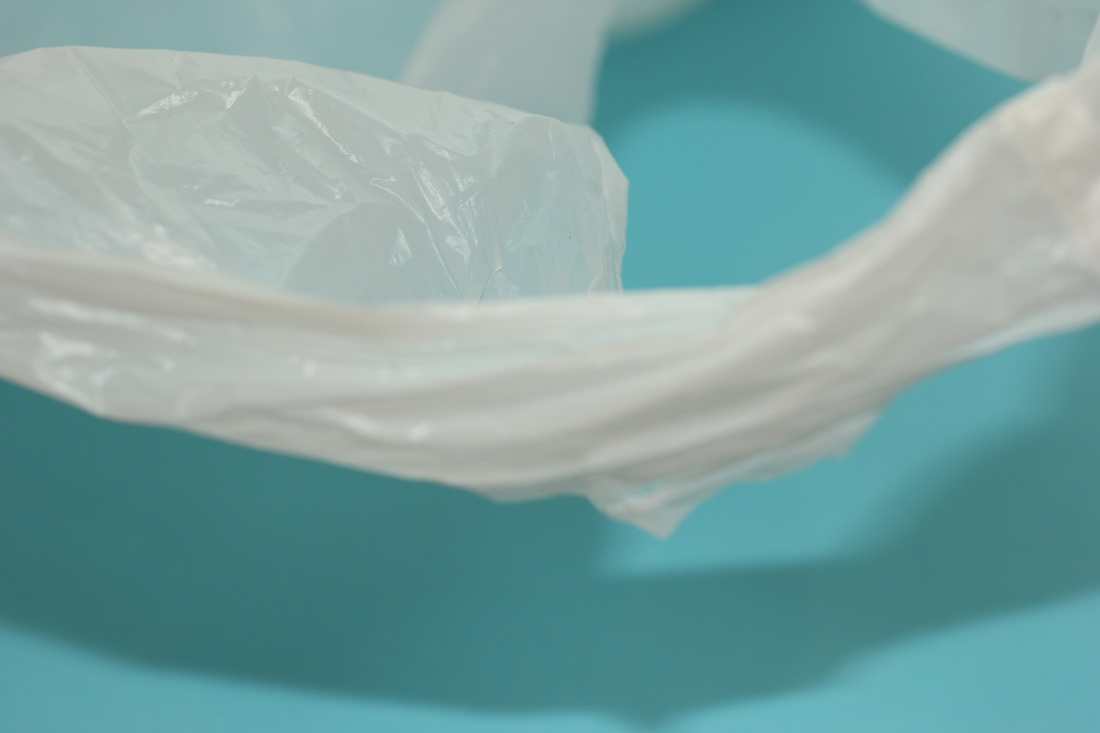


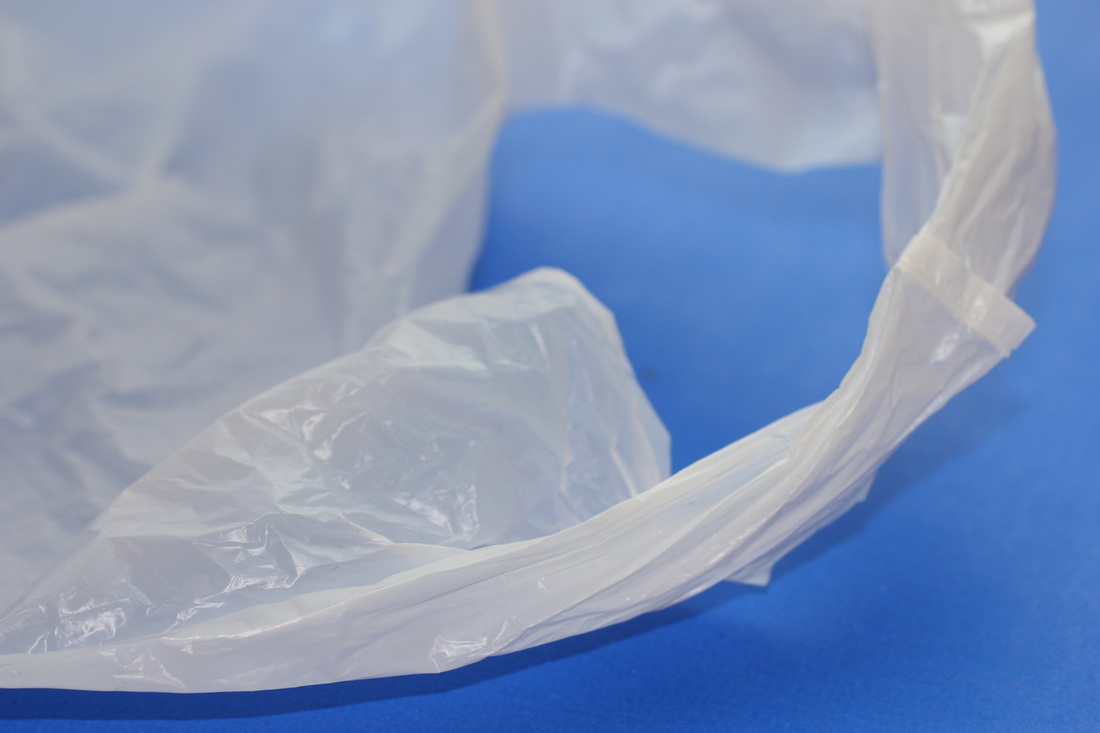


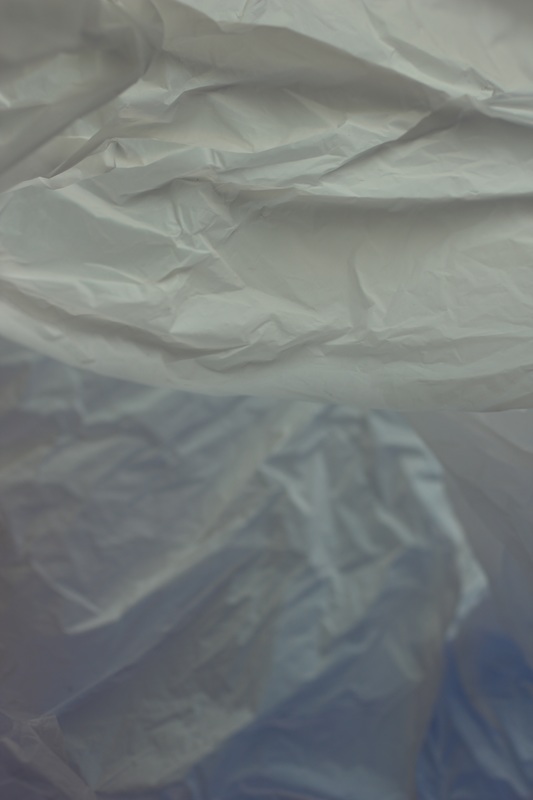


Instead of using different lights in my plastic bag landscapes I just used brightly coloured paper beneath the plastic bag so you got a hint of the colour through the material, I used a macro-lense in order to capture the different textures of the bag, I felt like this worked really well because looking at the images you would have had no idea what they were and it looks the bag is actually that colourand that there isn't paper making it look like that. I like the fact that you can see all of the dimensions in the bag , I also did this photoshoot by a big window so I used the natural light to go through the bag to pick up the dimensions.


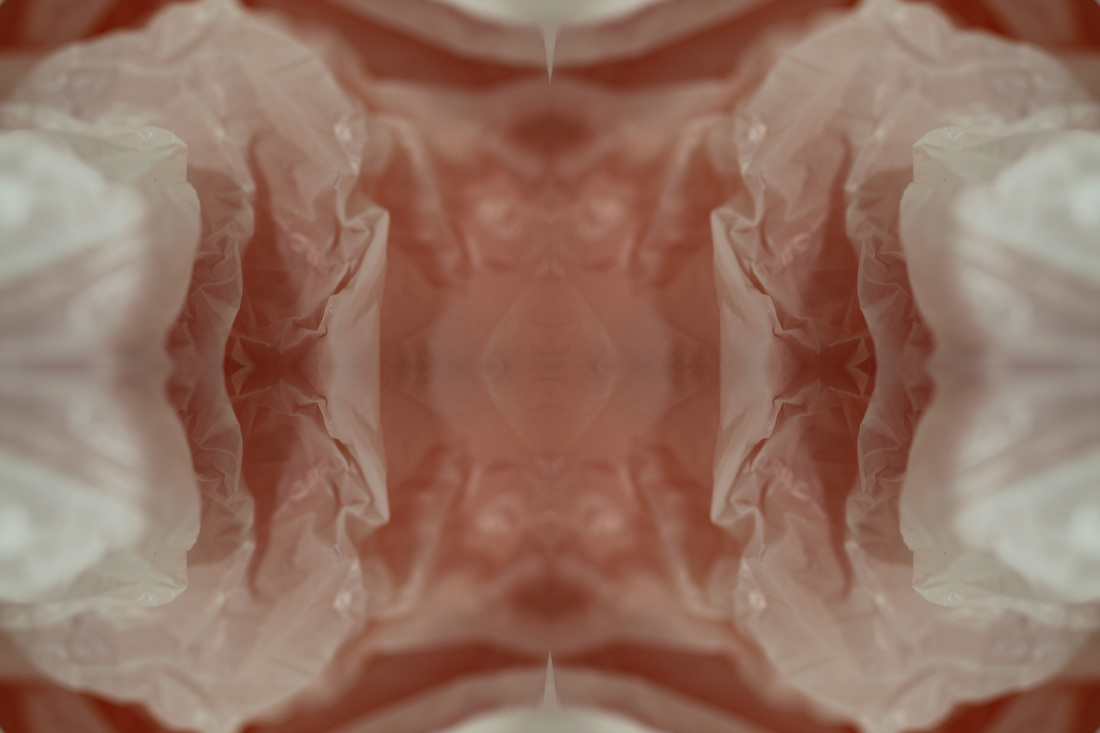
These images were edited and mirror on photoshop with the easy but less accurate method as i am not that confident when using photoshop, but a you can see the images have lines sectioning the photo showing how i edited them and i really didn't like this so I re-edited the images with the more complex method which was much more accurate, as shown below.
The originals |
Mirrored images on photoshop |


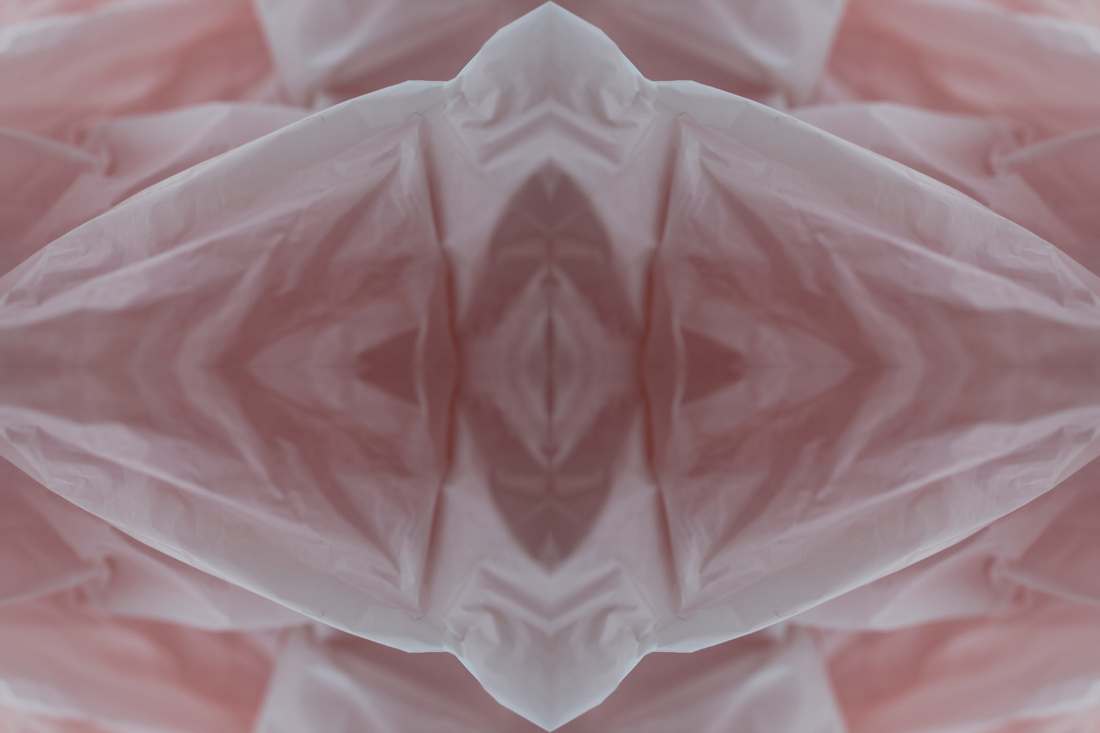


My Third Final Piece.
I chose to edit 15 images, i picked the images where the plastic bag covered the whole area of the photo, i also tried to pick a range of different colours. The complicated method was much more accurate and images came out perfect and they were definitely ready to be made into a final piece, however, I didn’t just want to mount all the images, as i felt like that was too simple, so I decided to chose the best four images - which was a very difficult decision, but once i did i decided to upload them to photobox and get them printed onto canvases.
The originals |
Transferred onto canvas's on photobox |


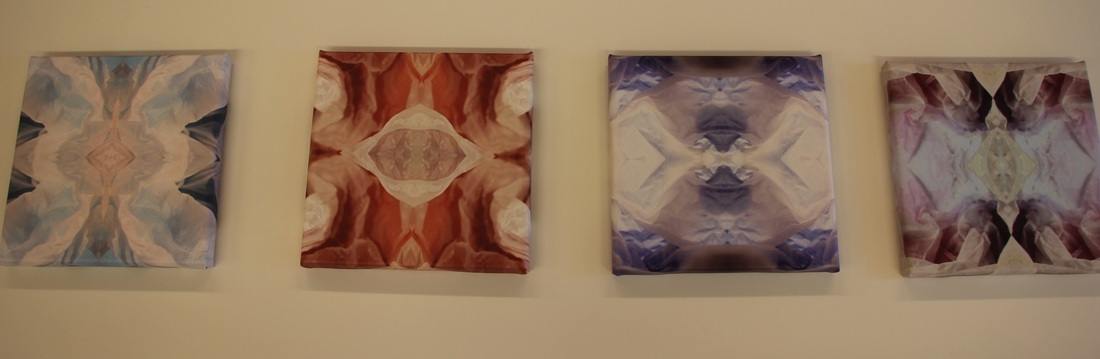
I was very happy with the final outcome with the canvases, this is because the images were originally quite absurd, looking at them you would have no idea what they were, added to that, the texture of the images on the canvases felt like and reminded me of skin in a way and that just added to the absurdity.
Unit 3 final pieces:
- 6 Rorshach photoframes
- Framed glitched and shredded piece
- 4 canvases bases on reflected plastic bags.
- 6 Rorshach photoframes
- Framed glitched and shredded piece
- 4 canvases bases on reflected plastic bags.
